Managing the Sticky Password autofill extension in browsers on Windows
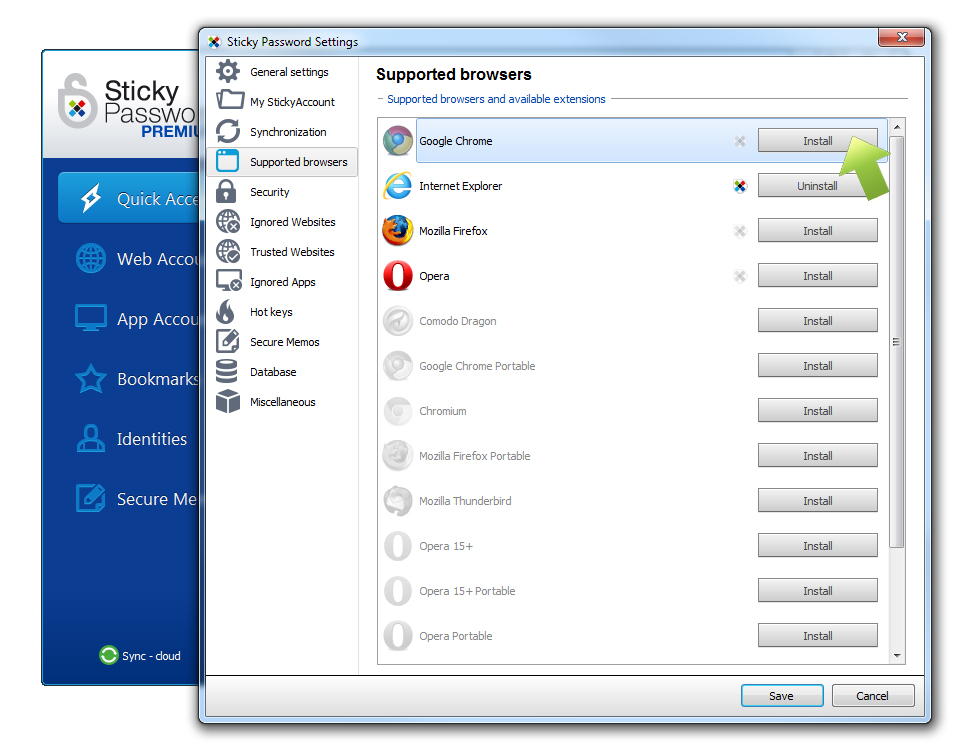
All the Sticky Password autofill plug-ins can be easily managed in the Supported browsers section of the Settings menu.
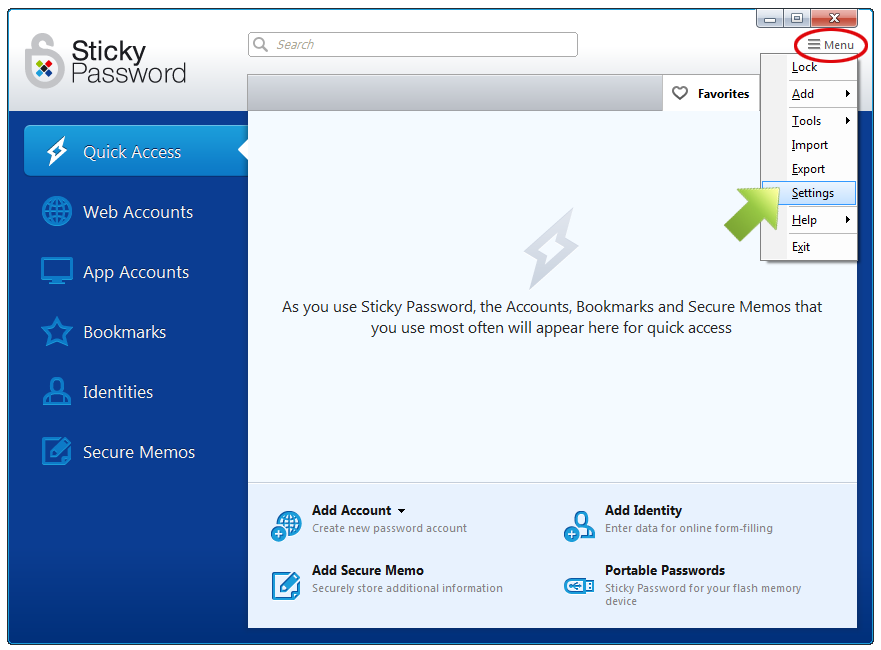
Open Sticky Password. Go to the Menu in the upper right hand corner and select Settings.
The browsers in which the Sticky Password plug-in is installed on your computer are at the top of the list. (You’ll see the logos in full color.)
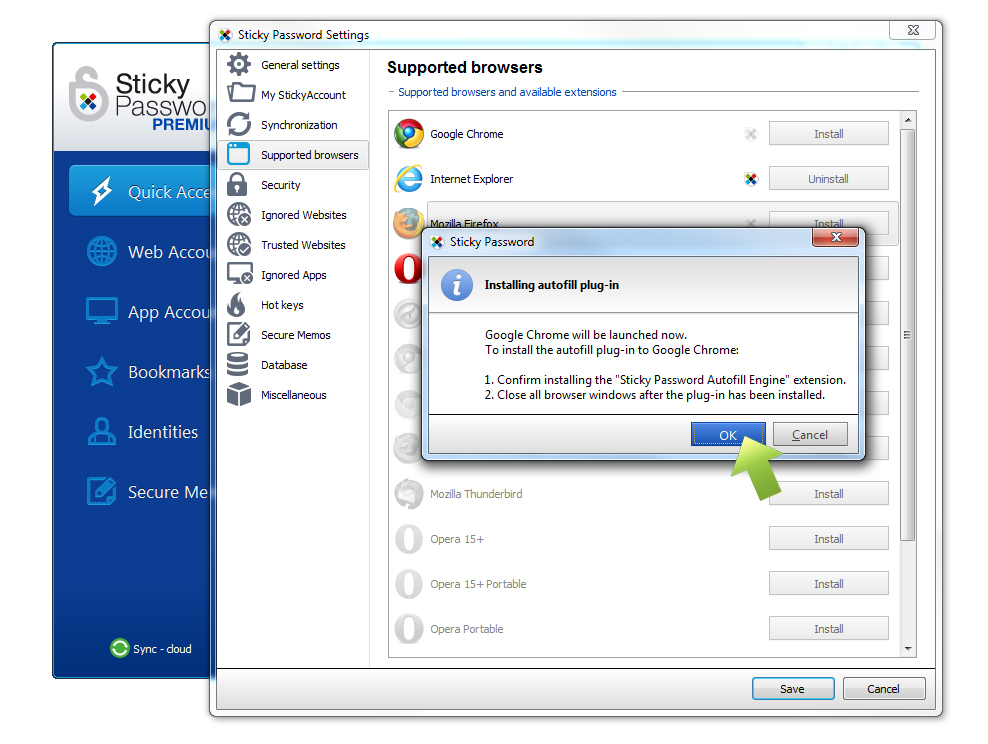
The autofill plugin can be reinstalled by clicking the Install/Uninstall button.
Autofill plugins can also be managed directly in your browser.
Internet Explorer:
Plugin is managed only via the Sticky Password settings menu as shown above.
Google Chrome:
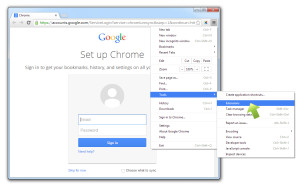
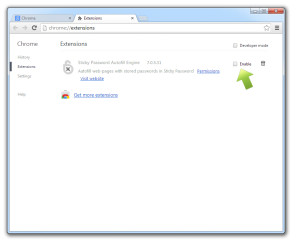
Go to Tools - Extensions.
All your installed extensions will be listed here. Find the Sticky Password Autofill Engine and make sure the Enable box is checked. Checking/unchecking will Enable/Disable the Sticky Password autofill plugin.You can also delete the extension.
Mozilla Firefox:
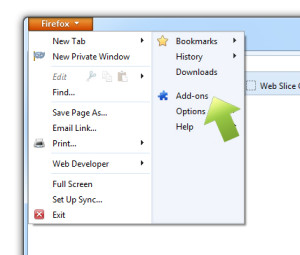
1. Go to Firefox - Add-ons.
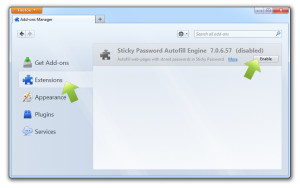
Select Extensions. All your installed extensions will be listed here.
Find the Sticky Password Autofill Engine and click the Enable button.
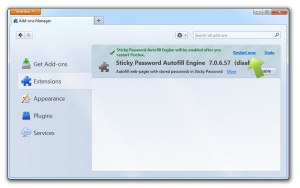
Be sure to restart your Mozilla Firefox browser by clicking Restart now.
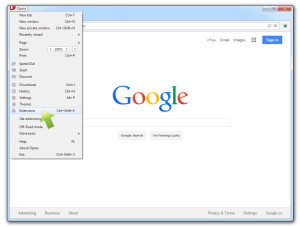
Opera:
Go to Opera - Extensions.
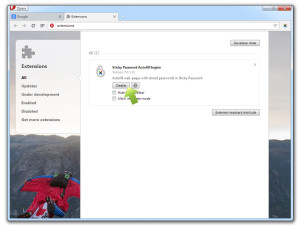
Select Extensions. All your installed extensions will be listed here.
Find the Sticky Password Autofill Engine and click the Enable button.
Internet Explorer:
The Internet Explorer plugin is managed only via the Sticky Password settings menu.
With the release of version 7.0.5 Sticky Password supports UI Automation. UI Automation allows Sticky Password to interact with the 64-bit versions of Internet Explorer 10 and 11 without requiring toolbar modifications, which means that no plugin will be required.
For even more info check out the FAQ: Sticky Password doesn’t autofill websites in my browser – what shall I do? (Windows)
Comment pourrions-nous améliorer notre réponse ?
Envoyer un commentaireMerci !
Merci ! Nous ferons de notre mieux pour améliorer cette réponse.
Une erreur s'est produite. Nous nous excusons pour les inconvénients. Veuillez réessayer.

