Adding web accounts with the Sticky pointer on Windows
Are you taking full advantage of the handy and unique Sticky Pointer? Not yet? Let us show you what you're missing.
In other tutorials, we've shown you how to add a new web account for your favorite websites using the Sticky Password icons in the input fields. But that's not the only way to add a new web account. In this tutorial we’ll introduce the Sticky Pointer, a handy little helper for adding new web accounts.
Where can you find the Sticky Pointer?
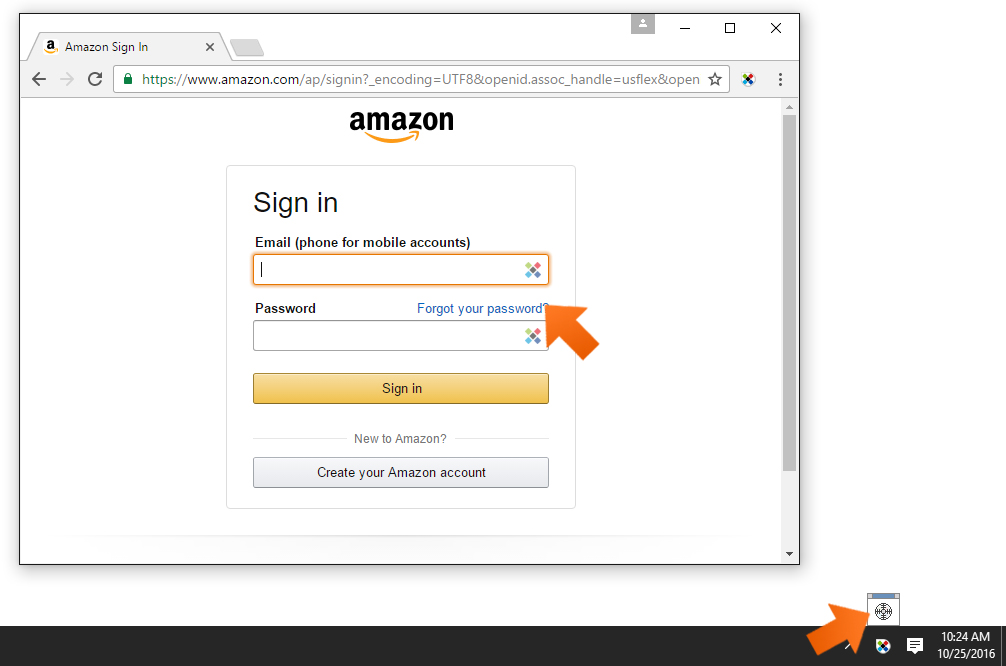
The Sticky Pointer is another easy and quick way to save your new account login and password. Hover over (but don’t click) the Sticky Password systray icon (typically in the lower right corner of your monitor - near the time and date) and the Sticky Pointer will appear.

Ease your mouse up to the Sticky Pointer, and the cross hairs (the target symbol) in the center of Sticky Pointer will appear.

Adding a web account using the Sticky Pointer
Open your favorite website and simply ‘drag and drop’ the Sticky Pointer anywhere on the login form on the website.

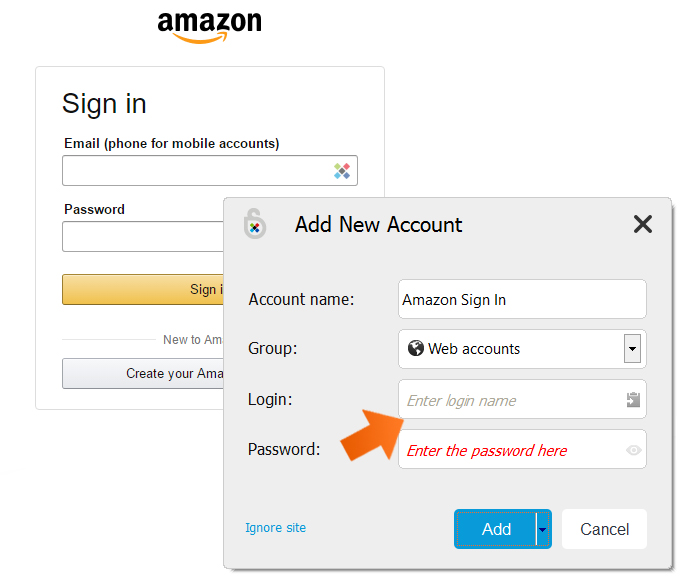
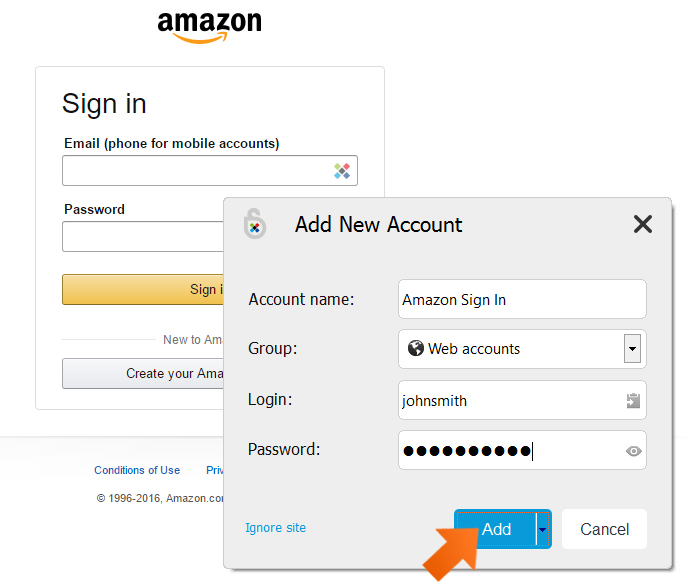
Sticky Password automatically prompts you to save a new Account for your favorite website: all you need to do to save the Account is fill in your Login and Password.

That’s it! Now you know another straightforward way to create web accounts.

