
How to Securely Export Data from Sticky Password on Windows
Sticky Password lets you export your data as an encrypted file—for secure backup and for safely sharing one or more login credentials with a coworker, family member, or trusted friend.
-
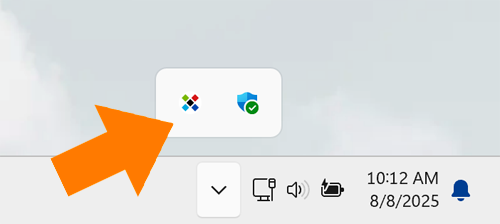
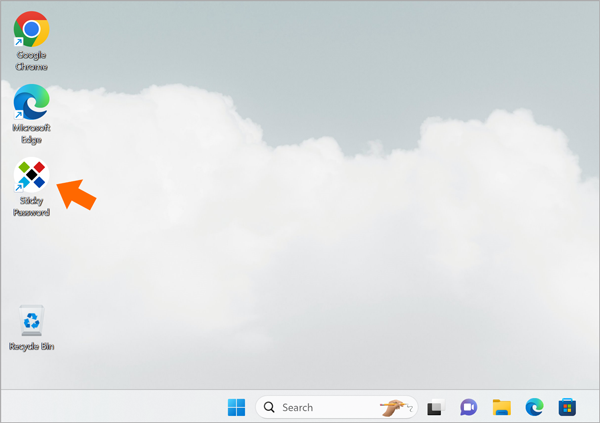
Click the Sticky Password icon in the notification area to open the application.
Or, double click on its icon on your desktop.
-
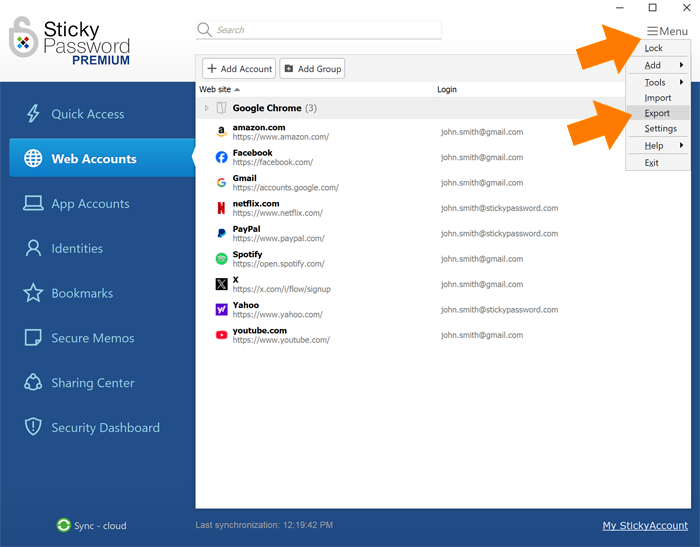
Click Menu in the top right corner of the main window and select Export.
-
Next, you'll be prompted to select the data you would like to export:
-
Export all—Exports all your data (Web Accounts, App Accounts, Bookmarks, Identities, and Secure Memos).
-
Export only selected items—Lets you choose the specific accounts or items to export.
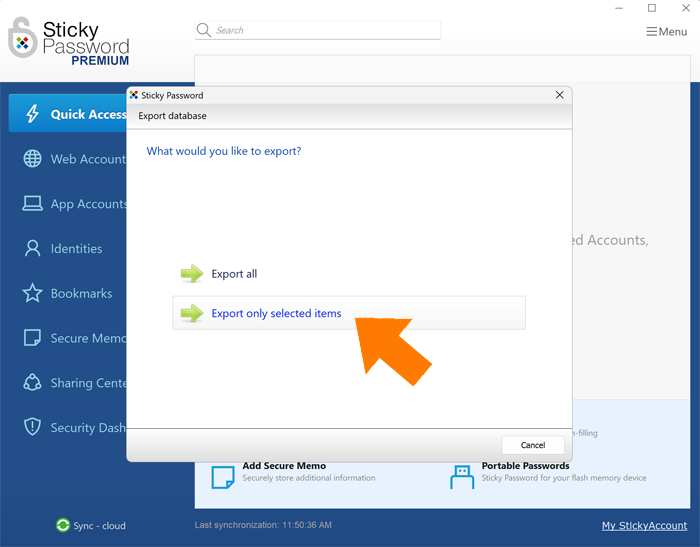
This example covers the Export only selected items option, but the same steps apply to Export all. The list of all your accounts and data items appears.
-
-
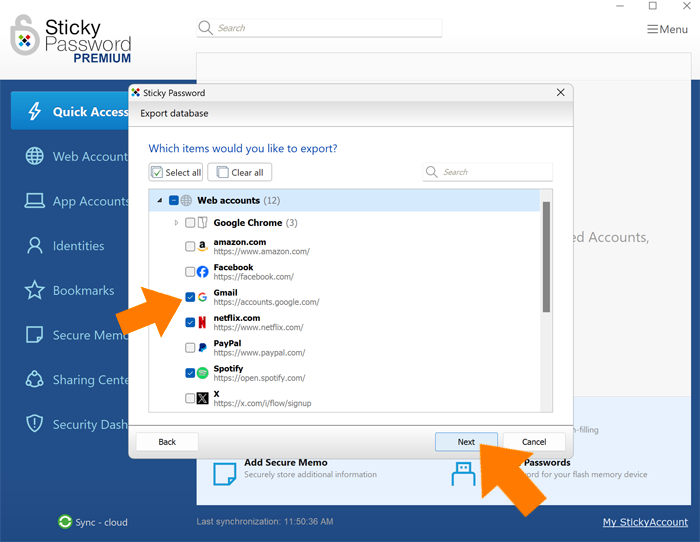
Select the items you would like to export and click Next.
-
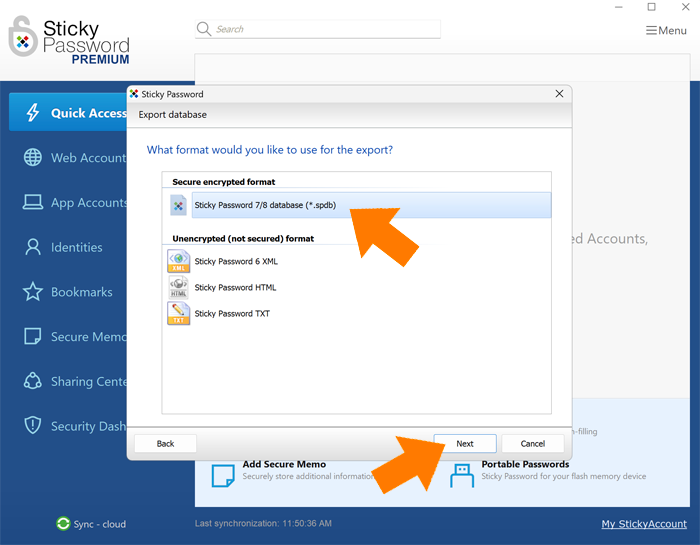
You’ll be prompted to choose an export format. Because exporting involves your passwords, we strongly recommend using the secure, encrypted format and sharing the file only with recipients who use Sticky Password.
💡 Note: Select Sticky Password 7/8 if the exported file will be imported to Sticky Password 7 or 8. When importing to Sticky Password 6, please choose the second option. Click Next.
-
Set and confirm a unique export password (not your Master Password). If you share the file, share this password with the recipient. It is required for import. Click Next.

💡 Note: You can also set a password reset reminder for the exported items. This option sets a reminder for you to reset the passwords that you are sharing. On the specified date, Sticky Password will prompt you to change the passwords you exported; a reminder balloon will appear at the configured account name.
-
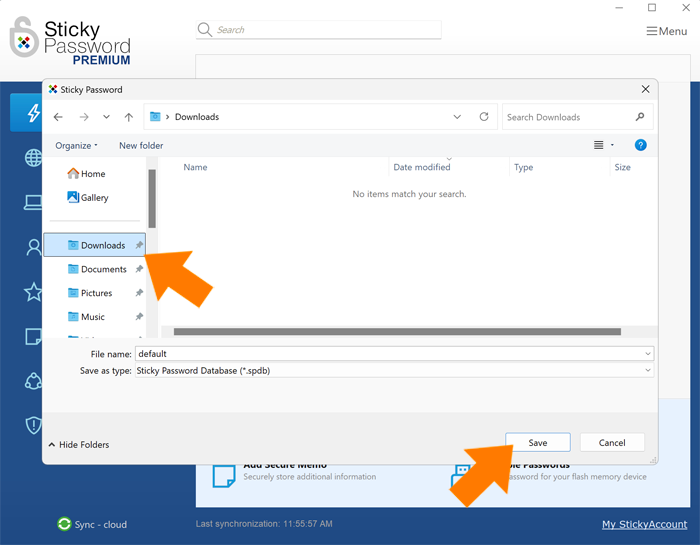
Select a destination folder, enter a File name and click Save.
-
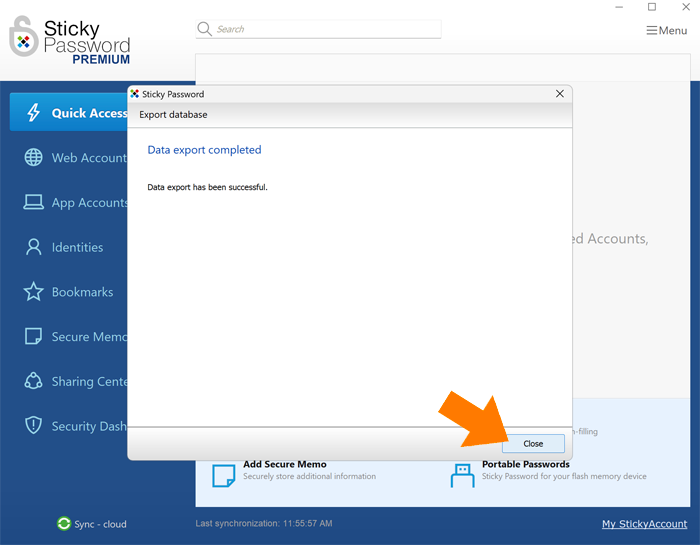
That's it! Click Close. Your exported file is now ready for you in the destination folder.
Discover how to import your exported data in our step-by-step FAQ.