
How to work with Secure Memos - creating templates on Windows
In this tutorial, you’ll learn how to use Secure Memo templates to store and organize structured information, such as personal data or other important text. You’ll also learn how to create your own custom templates to suit your specific needs.
Using Secure Memo templates
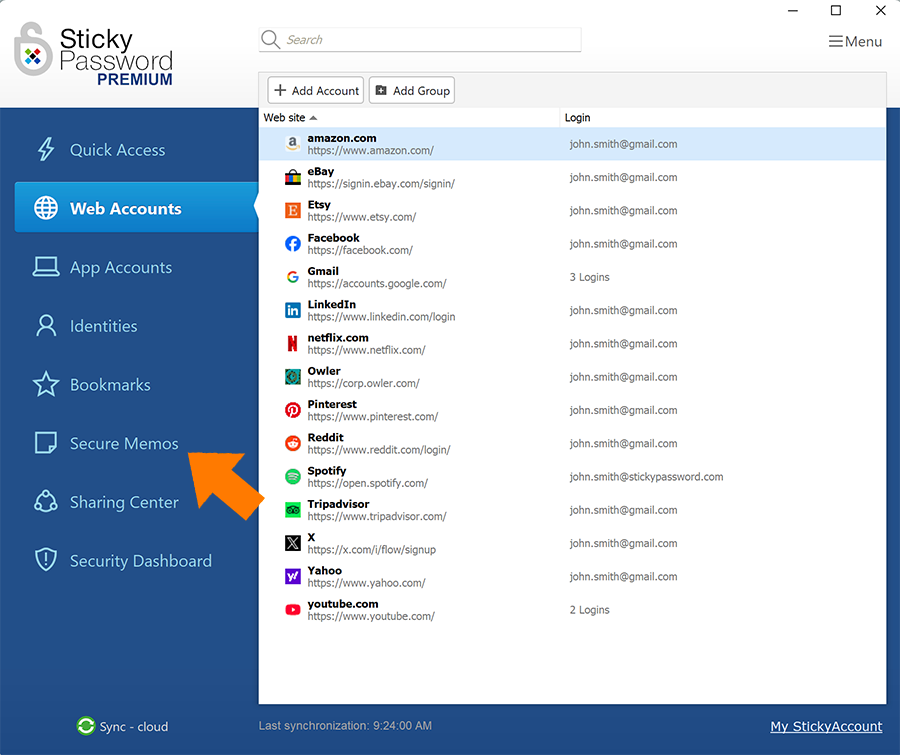
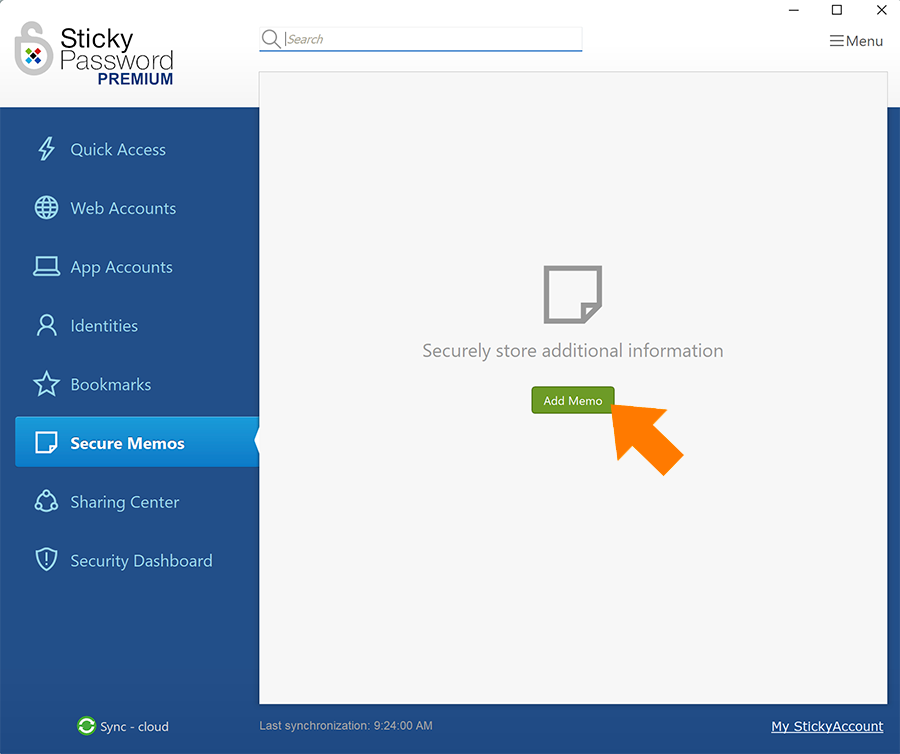
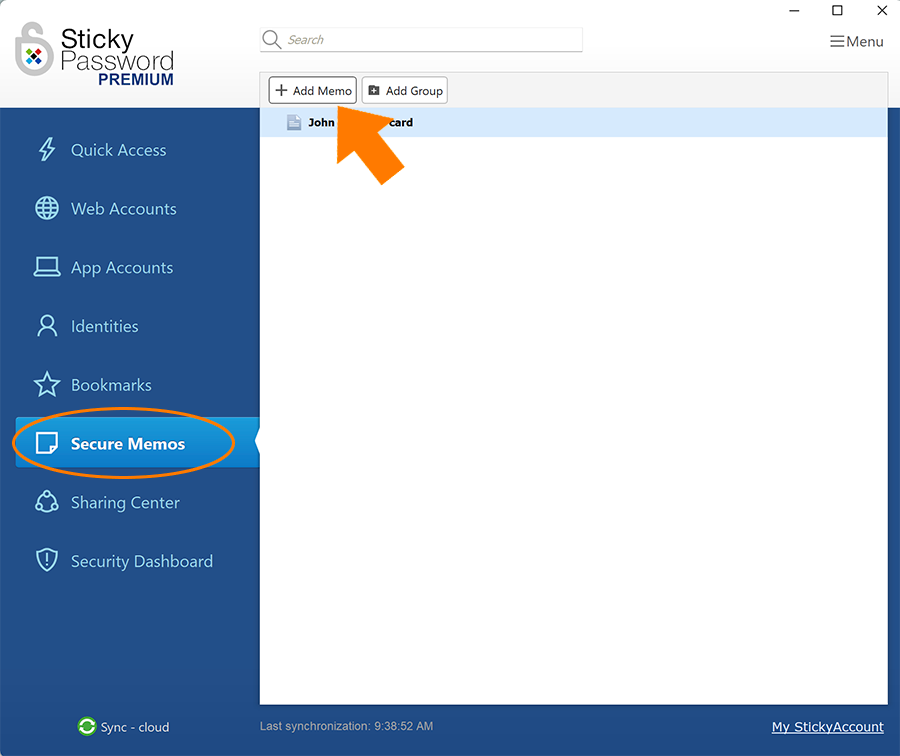
- Open Sticky Password and select Secure Memos in the left panel.
- Click Add Memo.
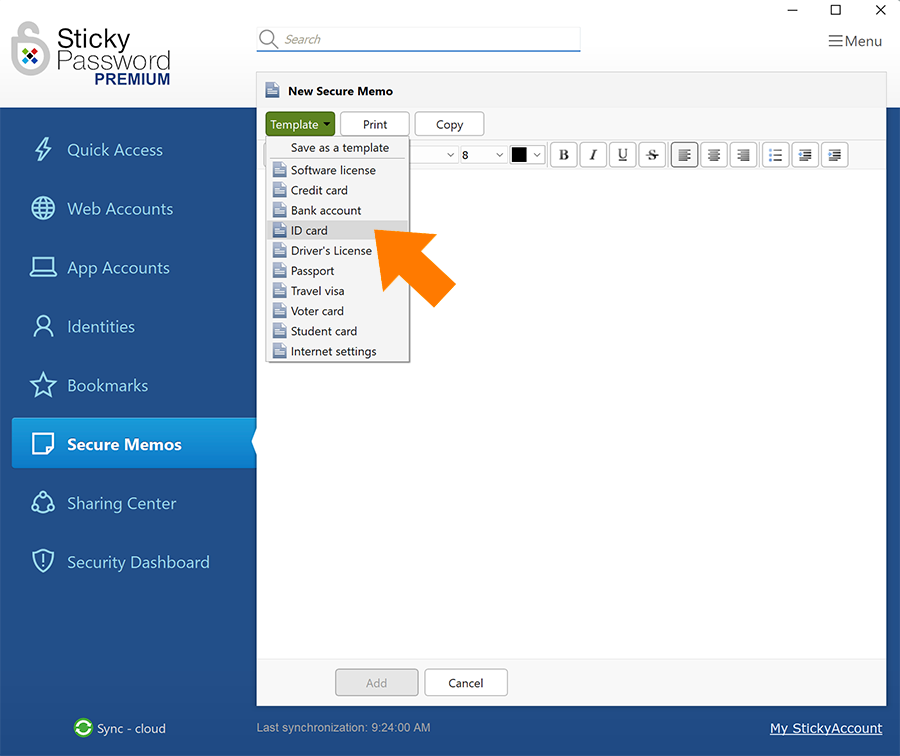
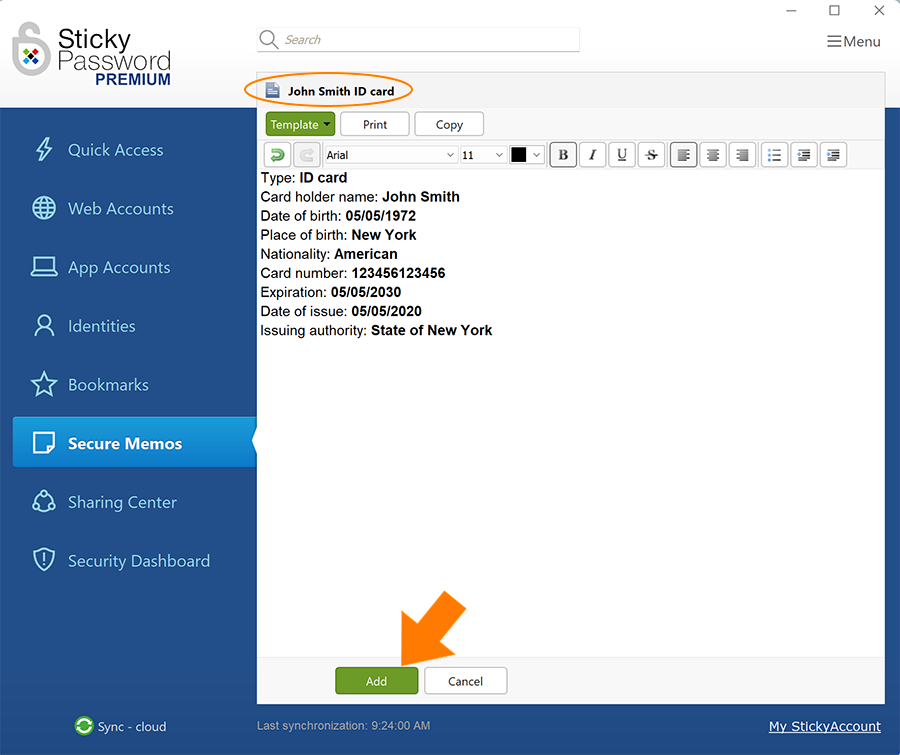
- Click the green Template button to reveal the dropdown menu. The list of 10 predefined templates will appear. Select the desired template, for example, ID Card.
- The template you selected is now ready to be filled in.
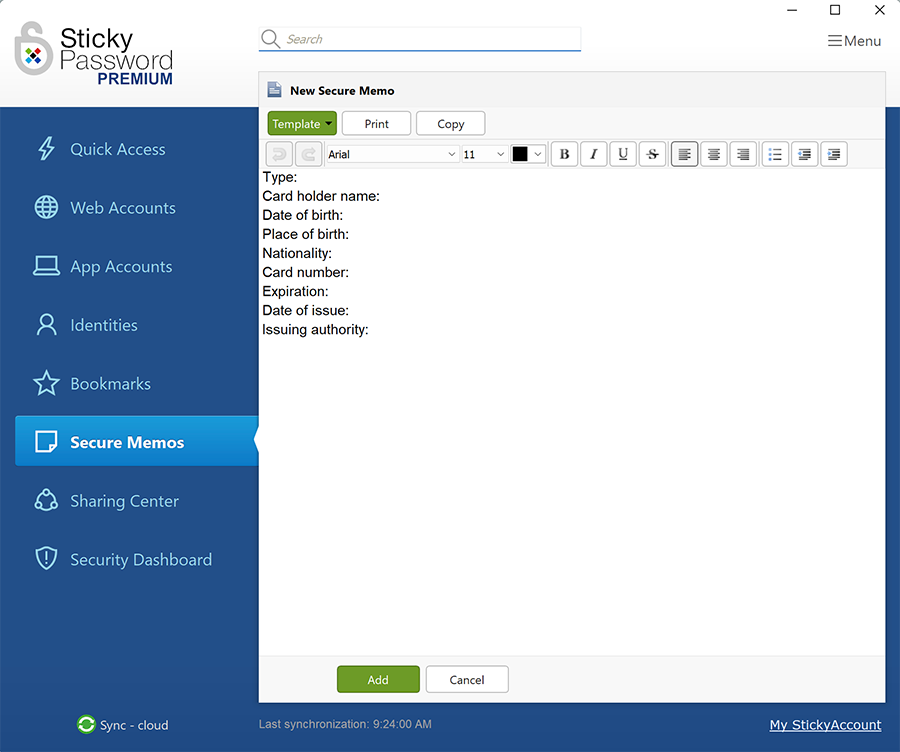
💡 Tip: Using your cursor, simply move from field to field and enter your data. Notice that just below the green Template button, you will find formatting tools that you can use to change fonts, paragraph formatting, or to add bullets, etc.
Finally, you can change the name in the upper part of the window: just click on the line that says New Secure Memo and enter the name you’d like to save the file under.
- To save your new Secure Memo click Add.
Creating your own templates
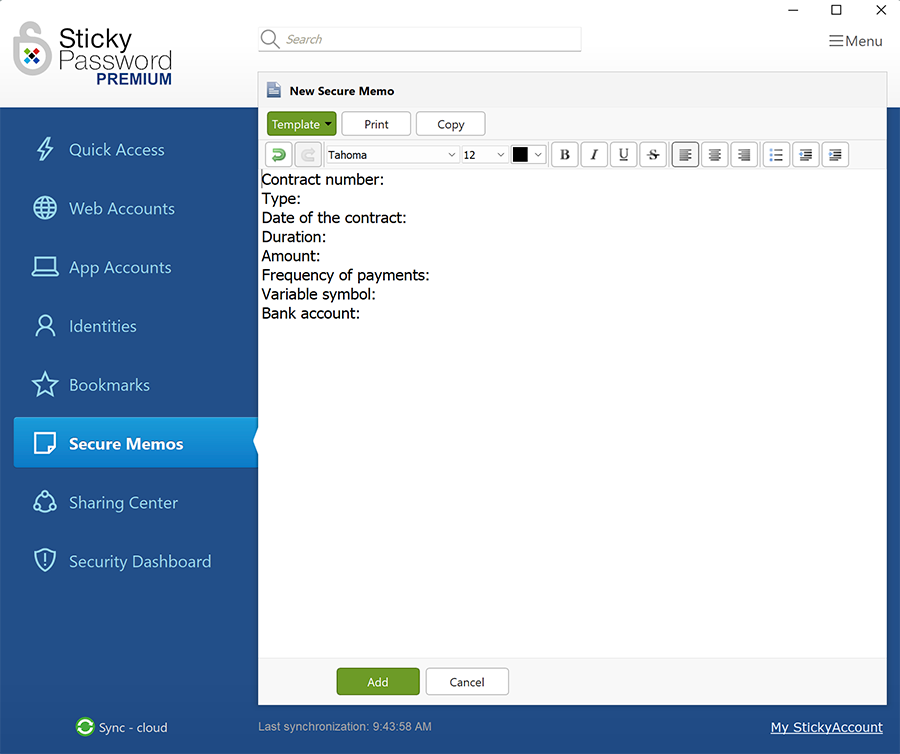
- In the Sticky Password main window, select Secure Memos in the left panel and then click Add Memo.
- Create the content that you’d like to save for your template.
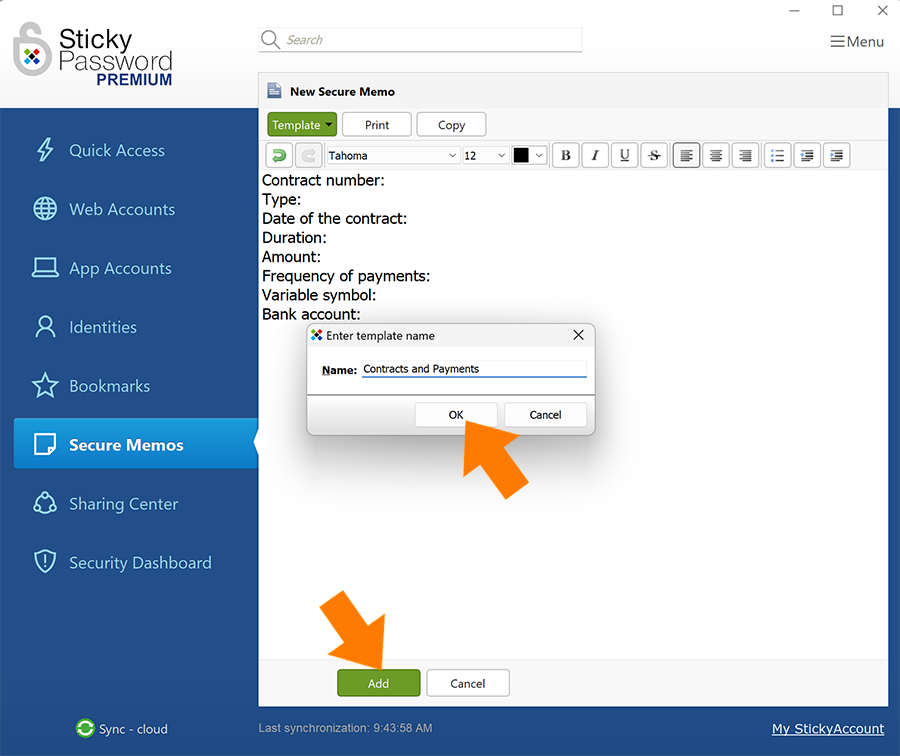
- Click the green Template button to reveal the dropdown menu. Click on Save as Template.
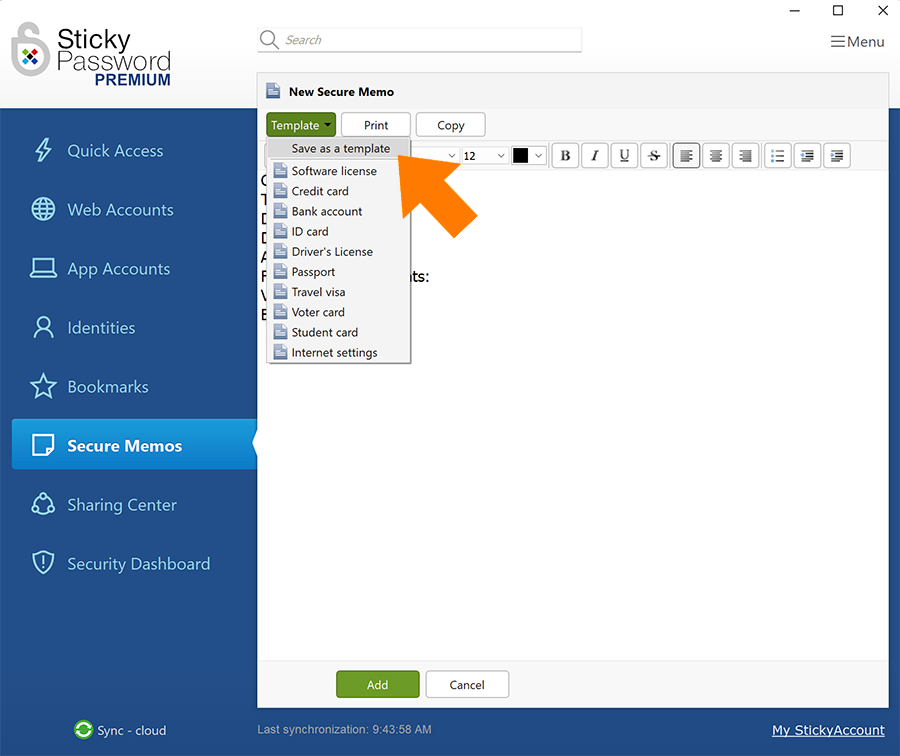
- You will be prompted to enter the name for your template. Enter the name and click OK then click Add.
Using and editing your new template
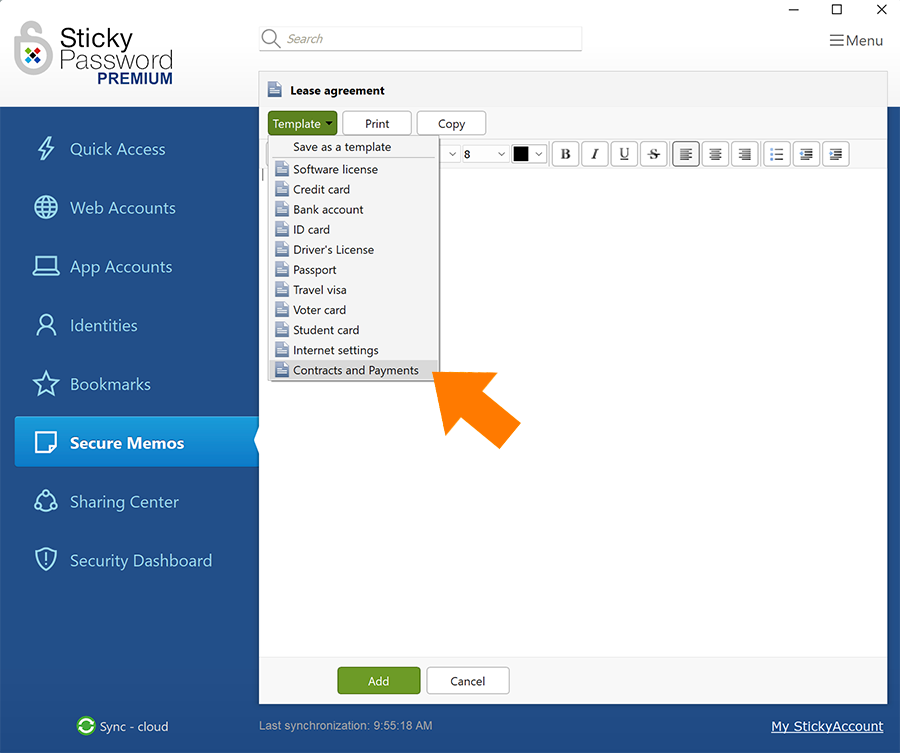
Your new template will now appear in the list of templates.
To create a new Secure Memo using your new template, just follow the steps at the beginning of this tutorial and select your template from the list of templates.
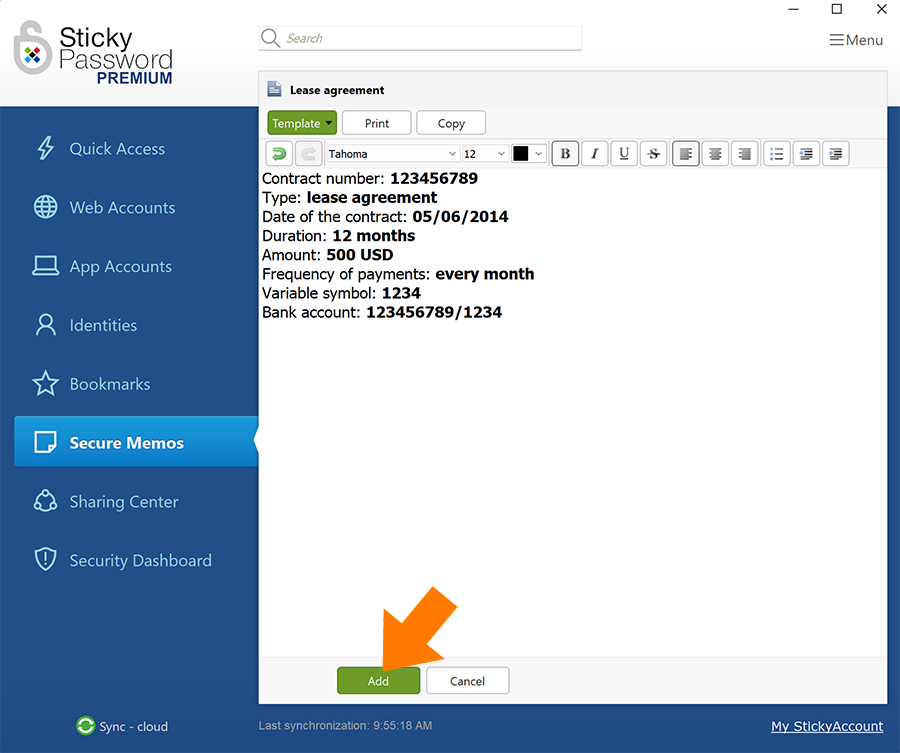
- Fill in the data, and save it by clicking Add.
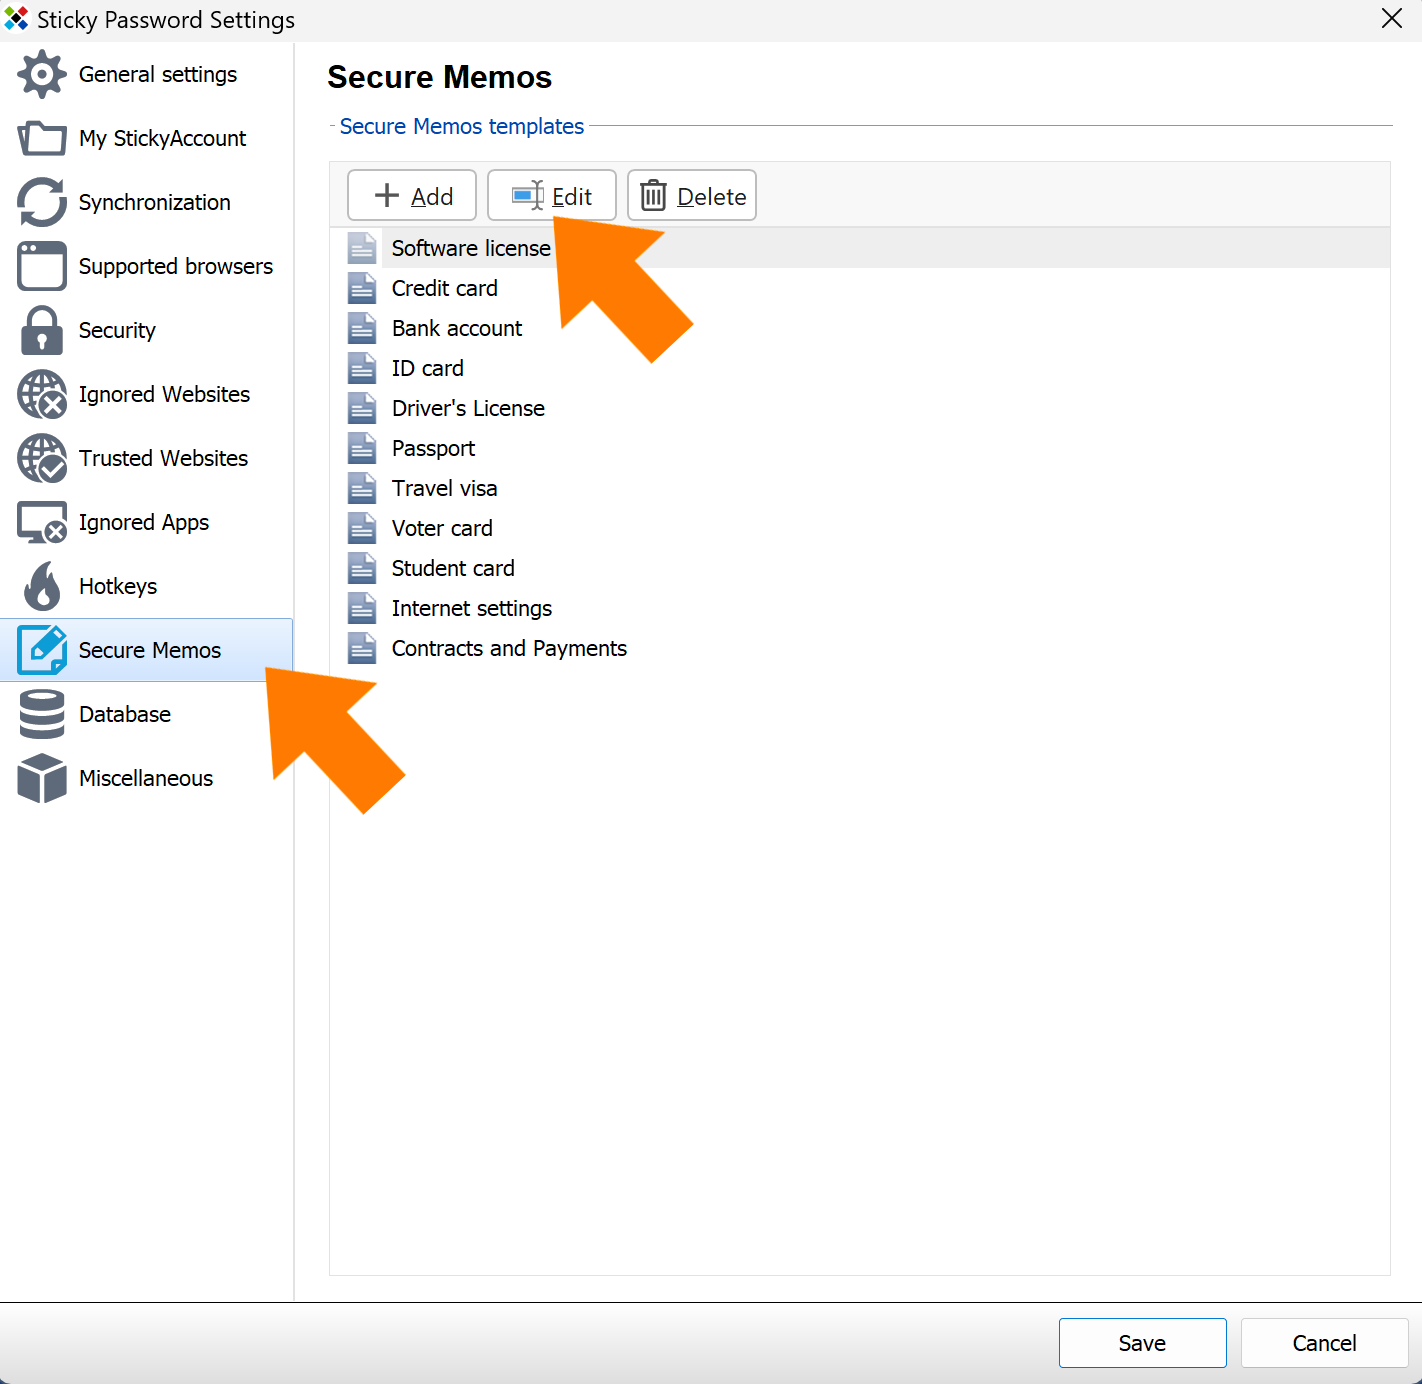
- You can edit or delete any of the templates in Settings → Secure Memos.
Congratulations! You now know how to use predefined templates and how to create and edit new ones, giving you everything you need to work effectively with Secure Memos.