How to install Sticky Password on Windows
This article will show you how quick and easy it is to install Sticky Password on your Windows computer. Please follow the steps below.
-
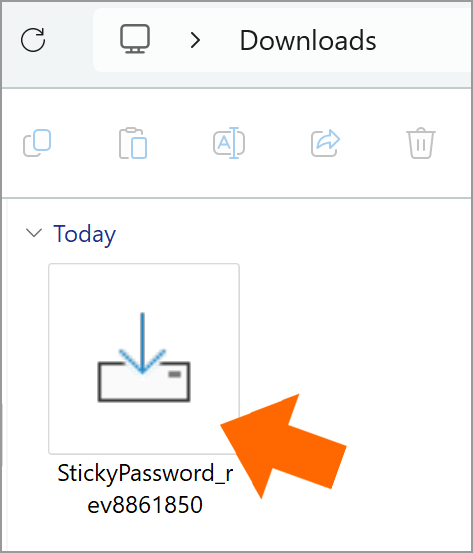
Download the Sticky Password installer to your PC.
-
Go to the location where you downloaded the file and double click on it to start the installation. The installation file will be named StickyPassword_revxxxxx – where ‘xxxxx’ represents the software build of Sticky Password you are downloading.
-
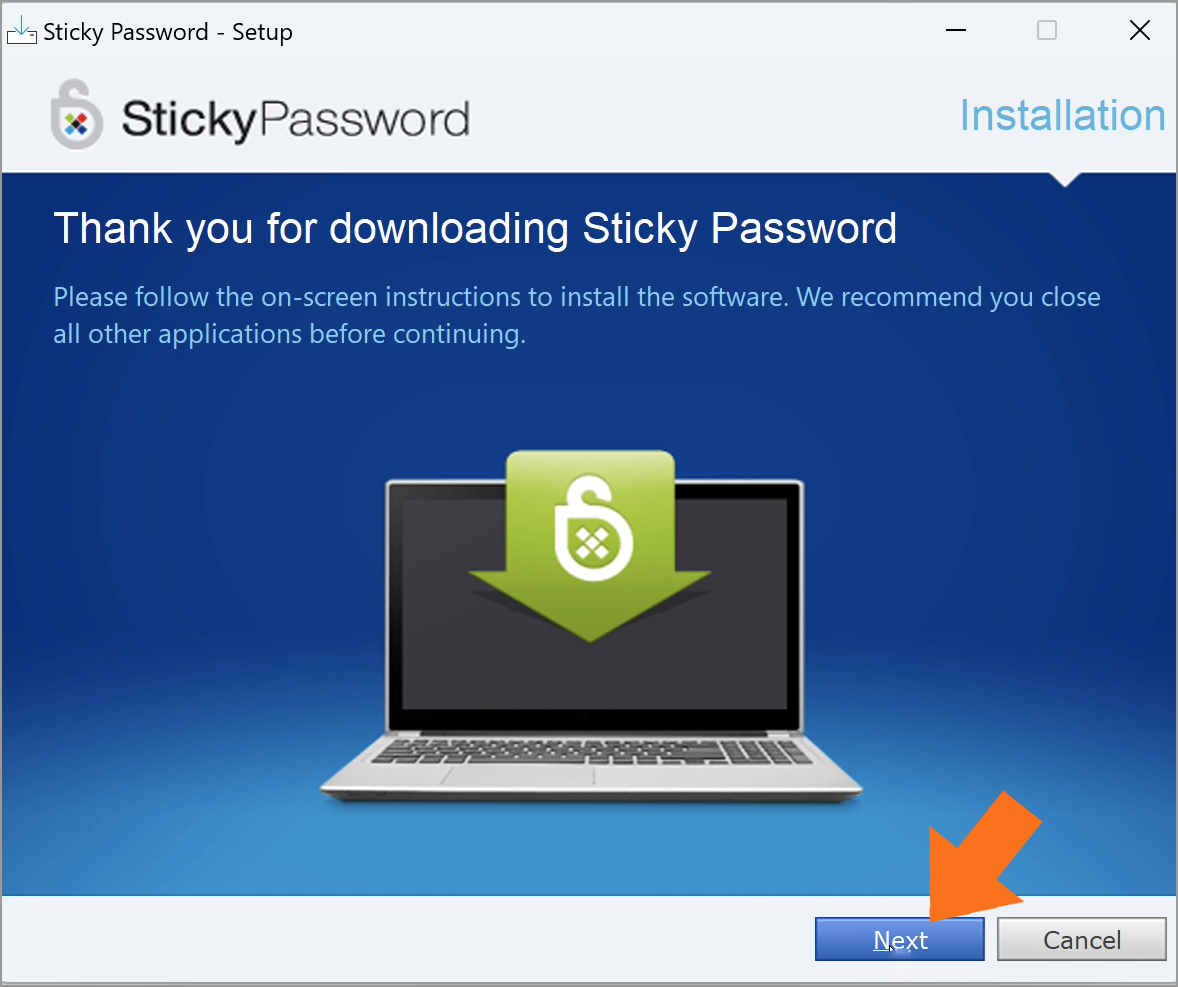
On the first screen of the installator, click Yes to continue.

-
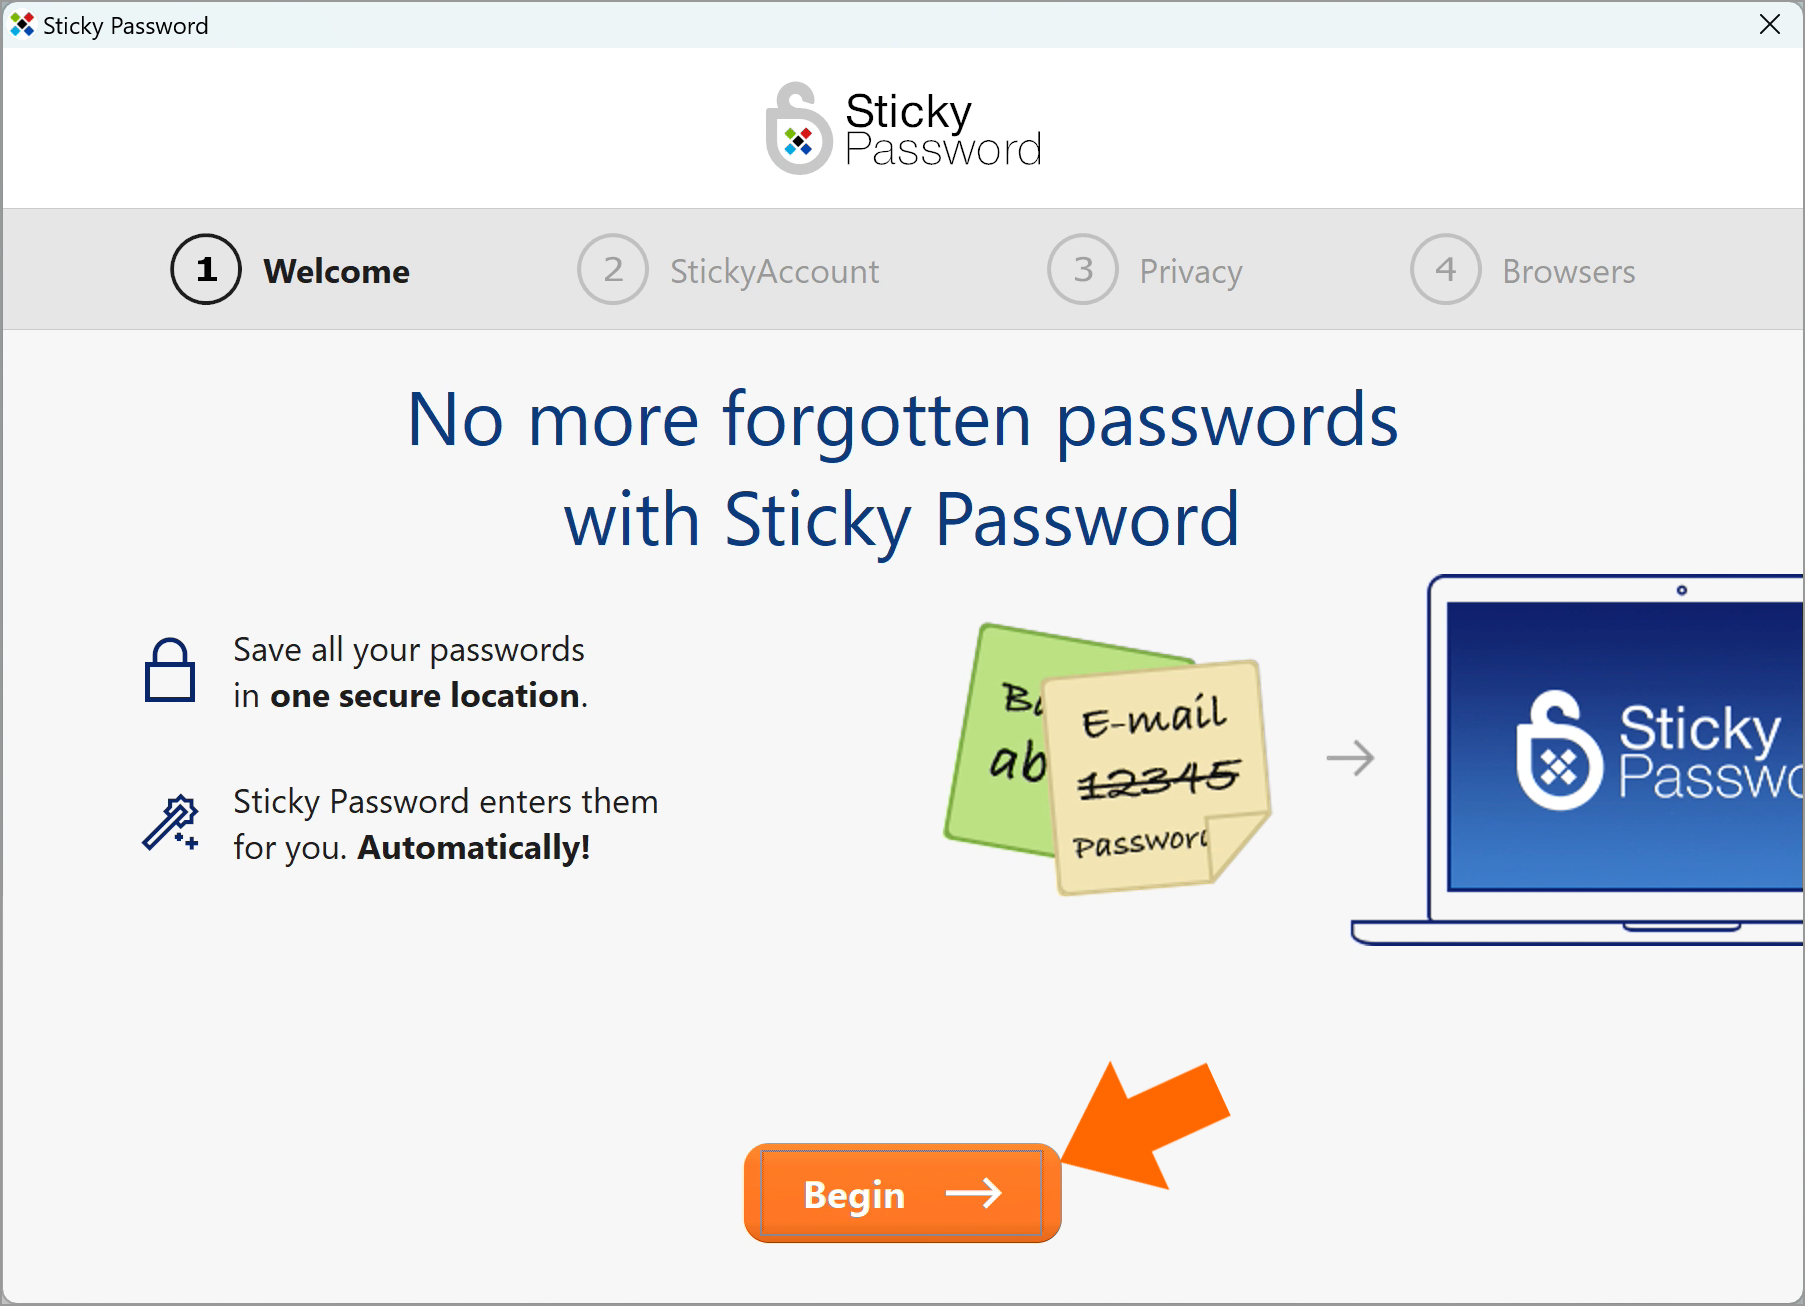
Welcome to the First Run Wizard, where we'll walk you through a few important settings!
Select the language that will be used during the installation and click Begin.
-
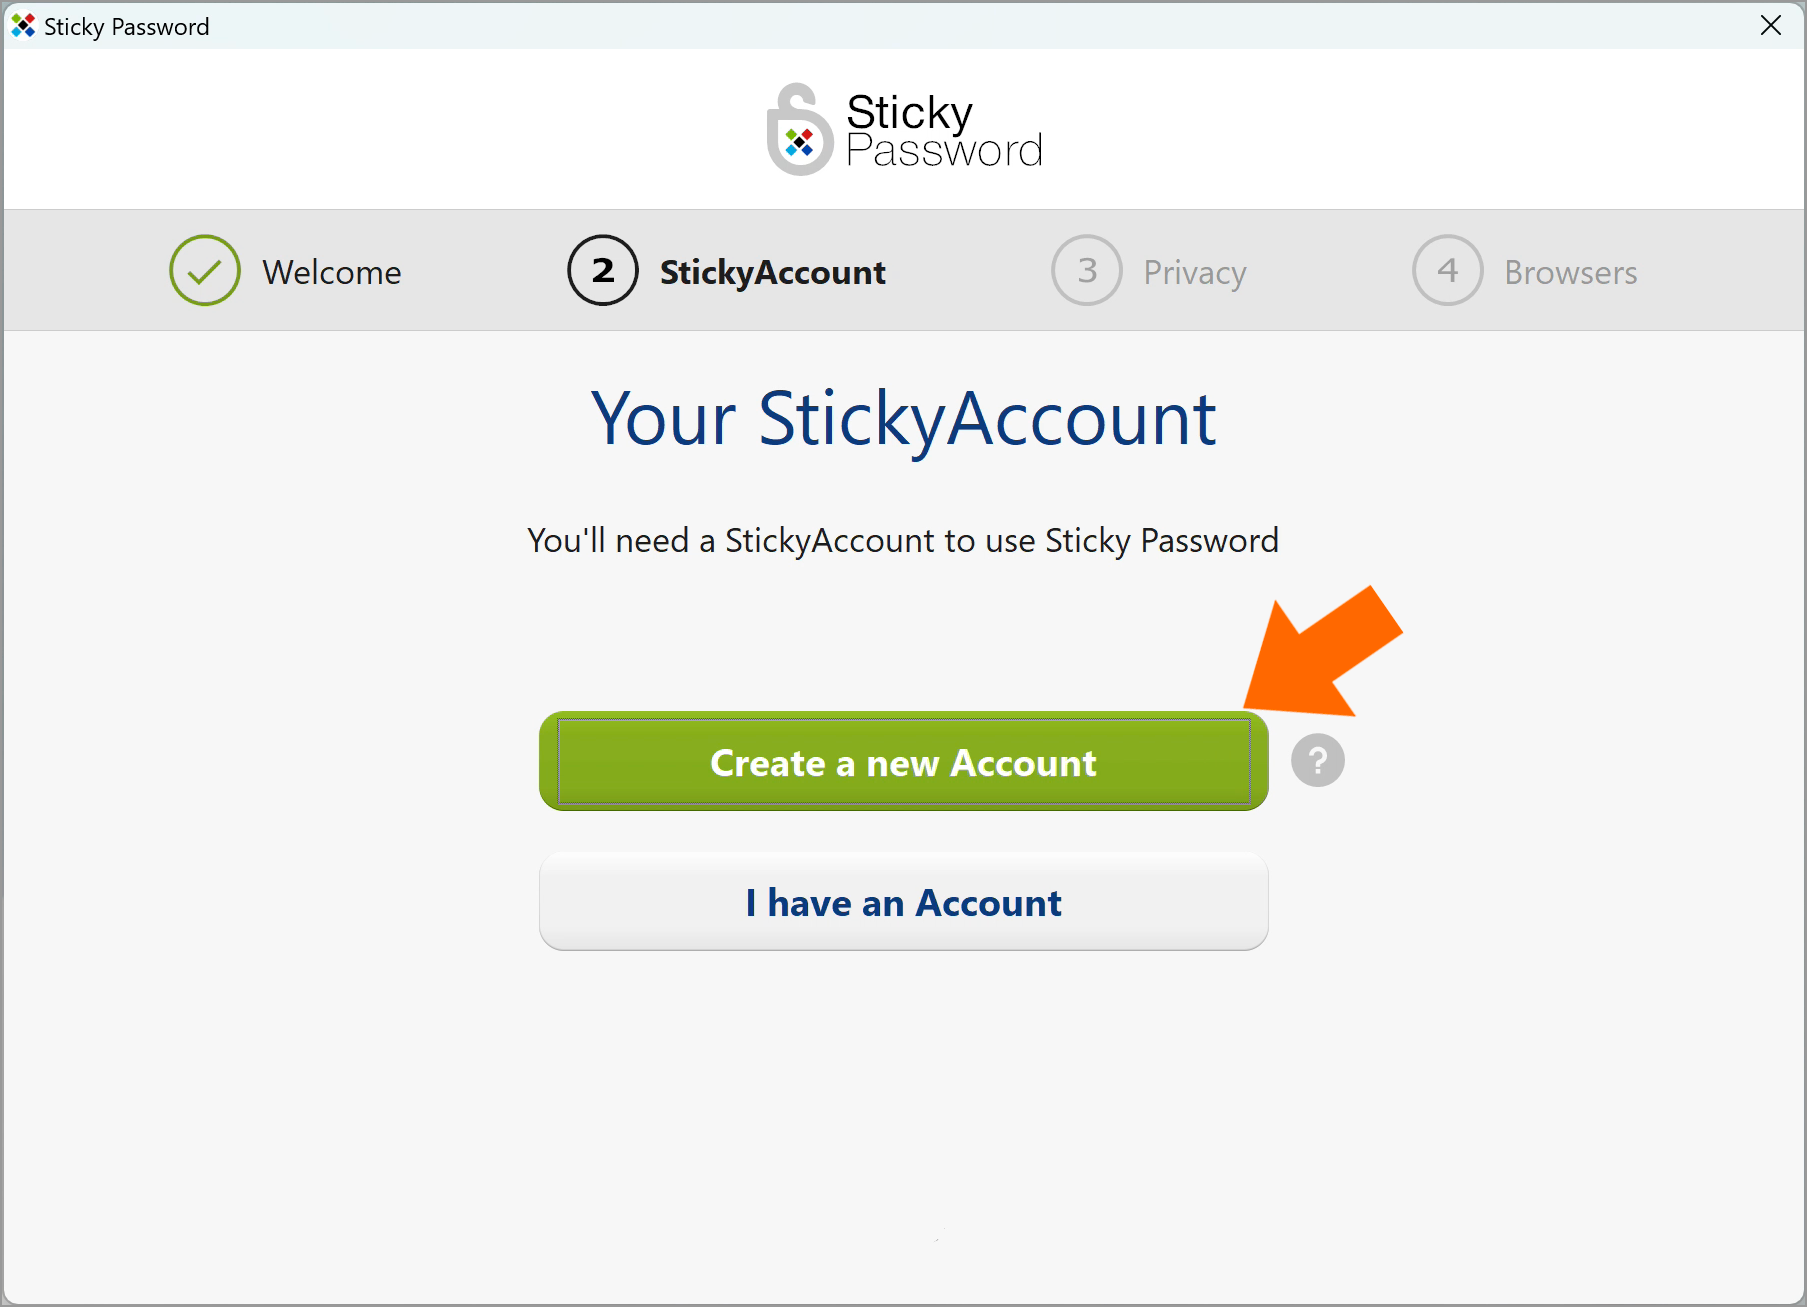
Create a new account, or connect to an existing one.
If you already have a StickyAccount, click I’m an existing user to enter your StickyAccount authentication credentials—you'll be prompted to enter your StickyID (your email address that you used when you initially set up your account) and your Master Password.
If this is your first time using Sticky Password, click I’m a new user to create your Sticky Password account.
💡 The email address you provide will serve as the unique identifier for your account and must be valid.
-
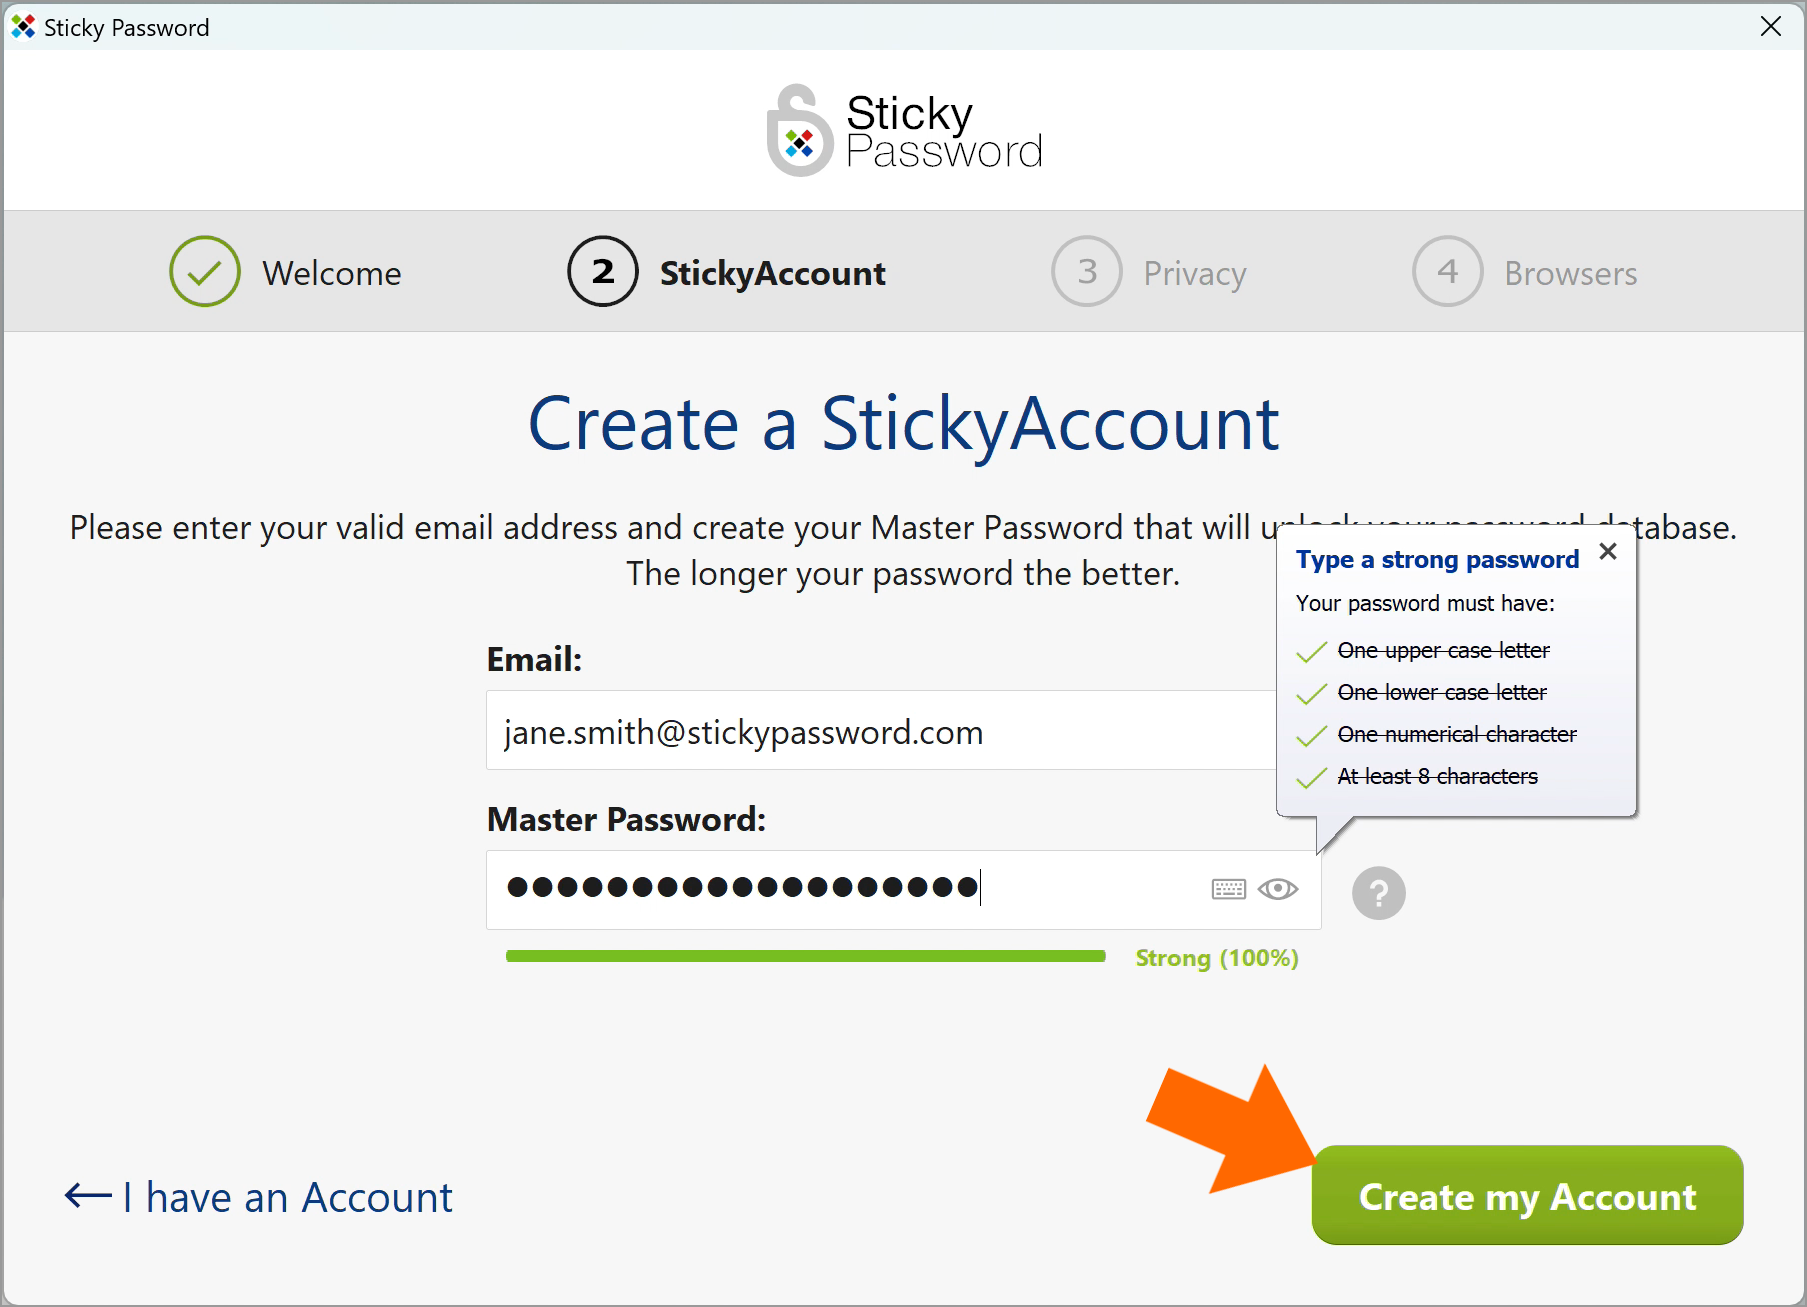
In the steps that follow, we’ll look at creating a new StickyAccount.
Enter your valid email address (your StickyID) and create your Master Password. Your Master Password is the strong password that you will use to lock and unlock the Sticky Password app, and log into your StickyAccount.
💡 Note: your Master Password is the only password you have to remember. You will use it to protect your passwords in your personal encrypted database, and log into your StickyAccount. Only you know your Master Password!
Click Create my Account.
-
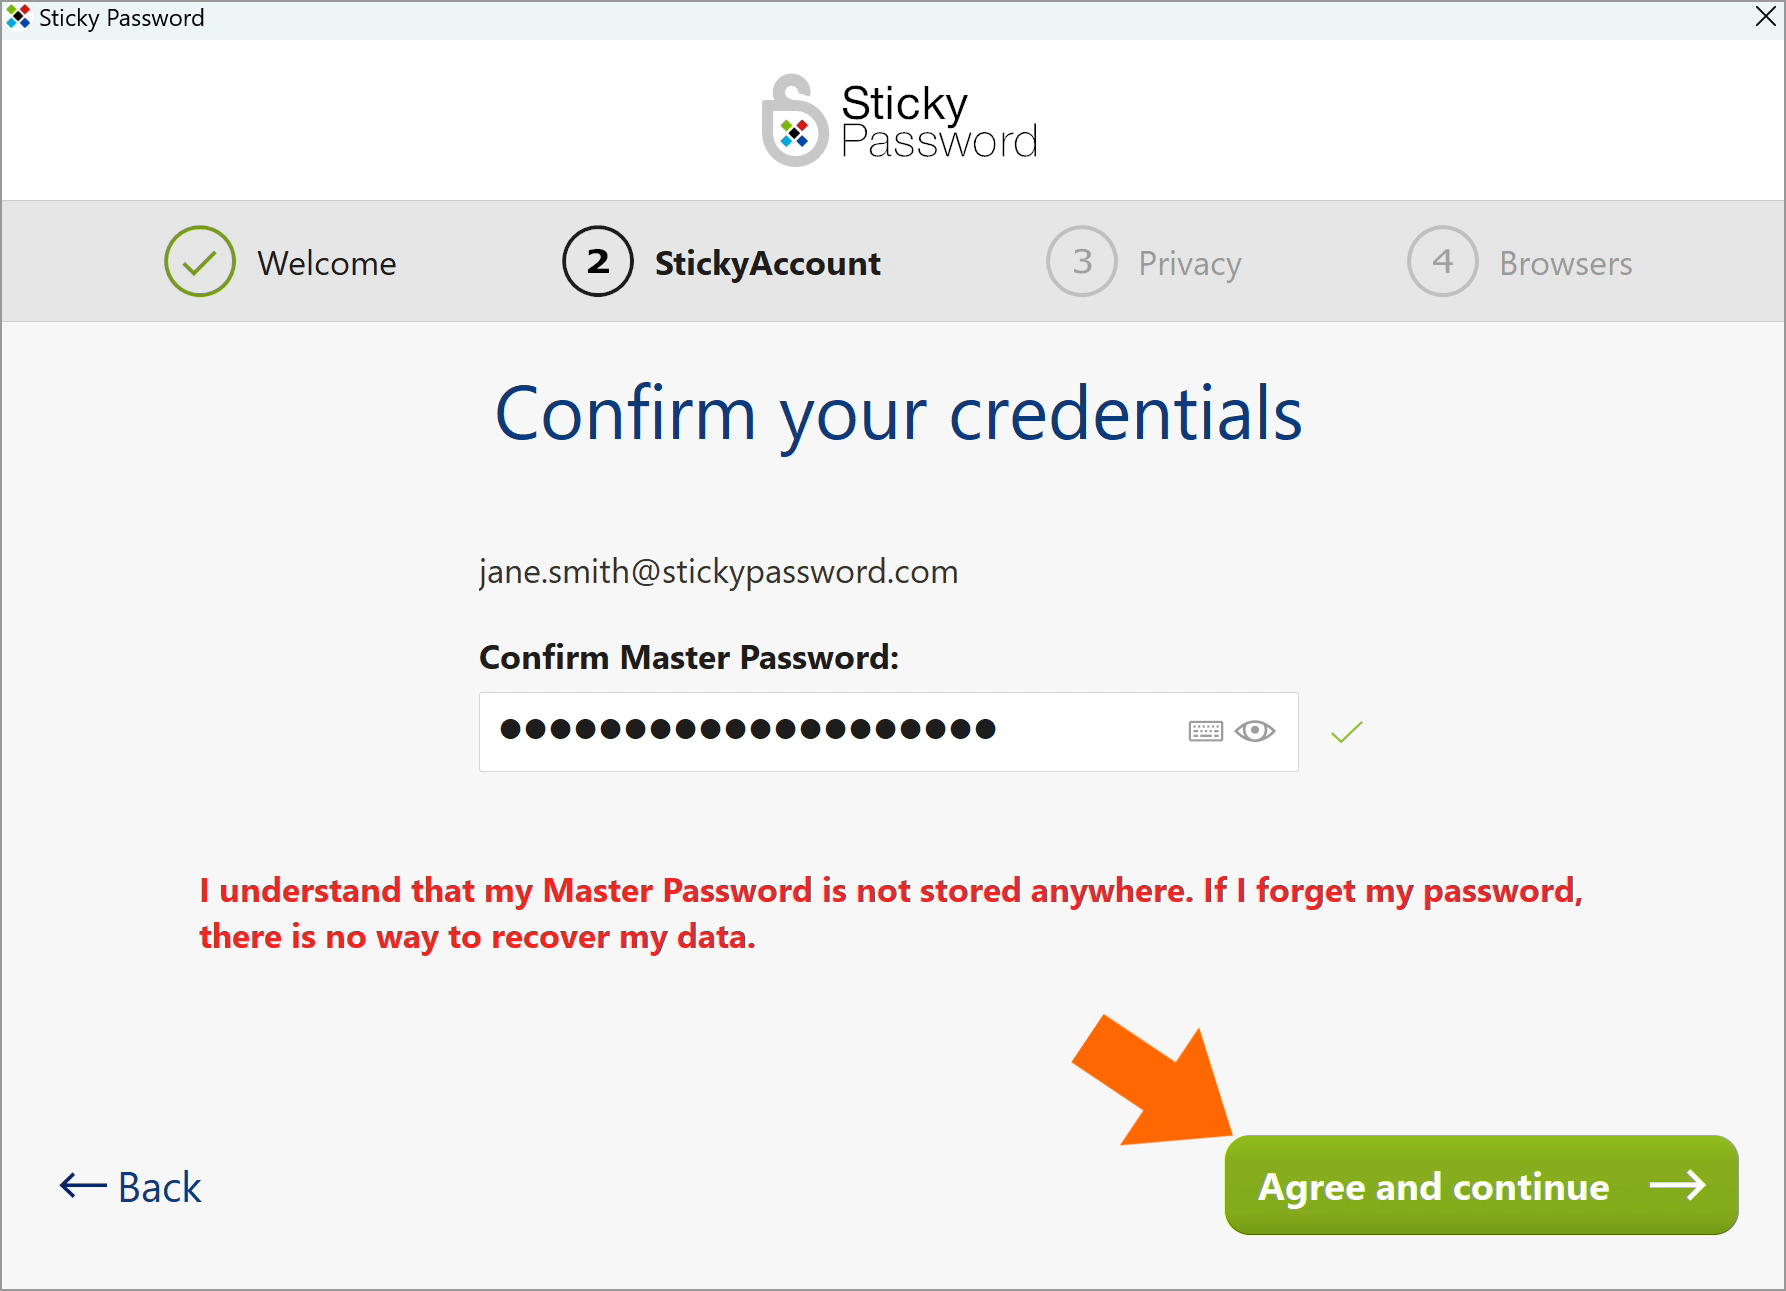
Confirm your email and Master Password. Re-enter your credentials to make sure there are no typos. Make sure you read and understand the information about your Master Password. Click Agree and Continue.
-
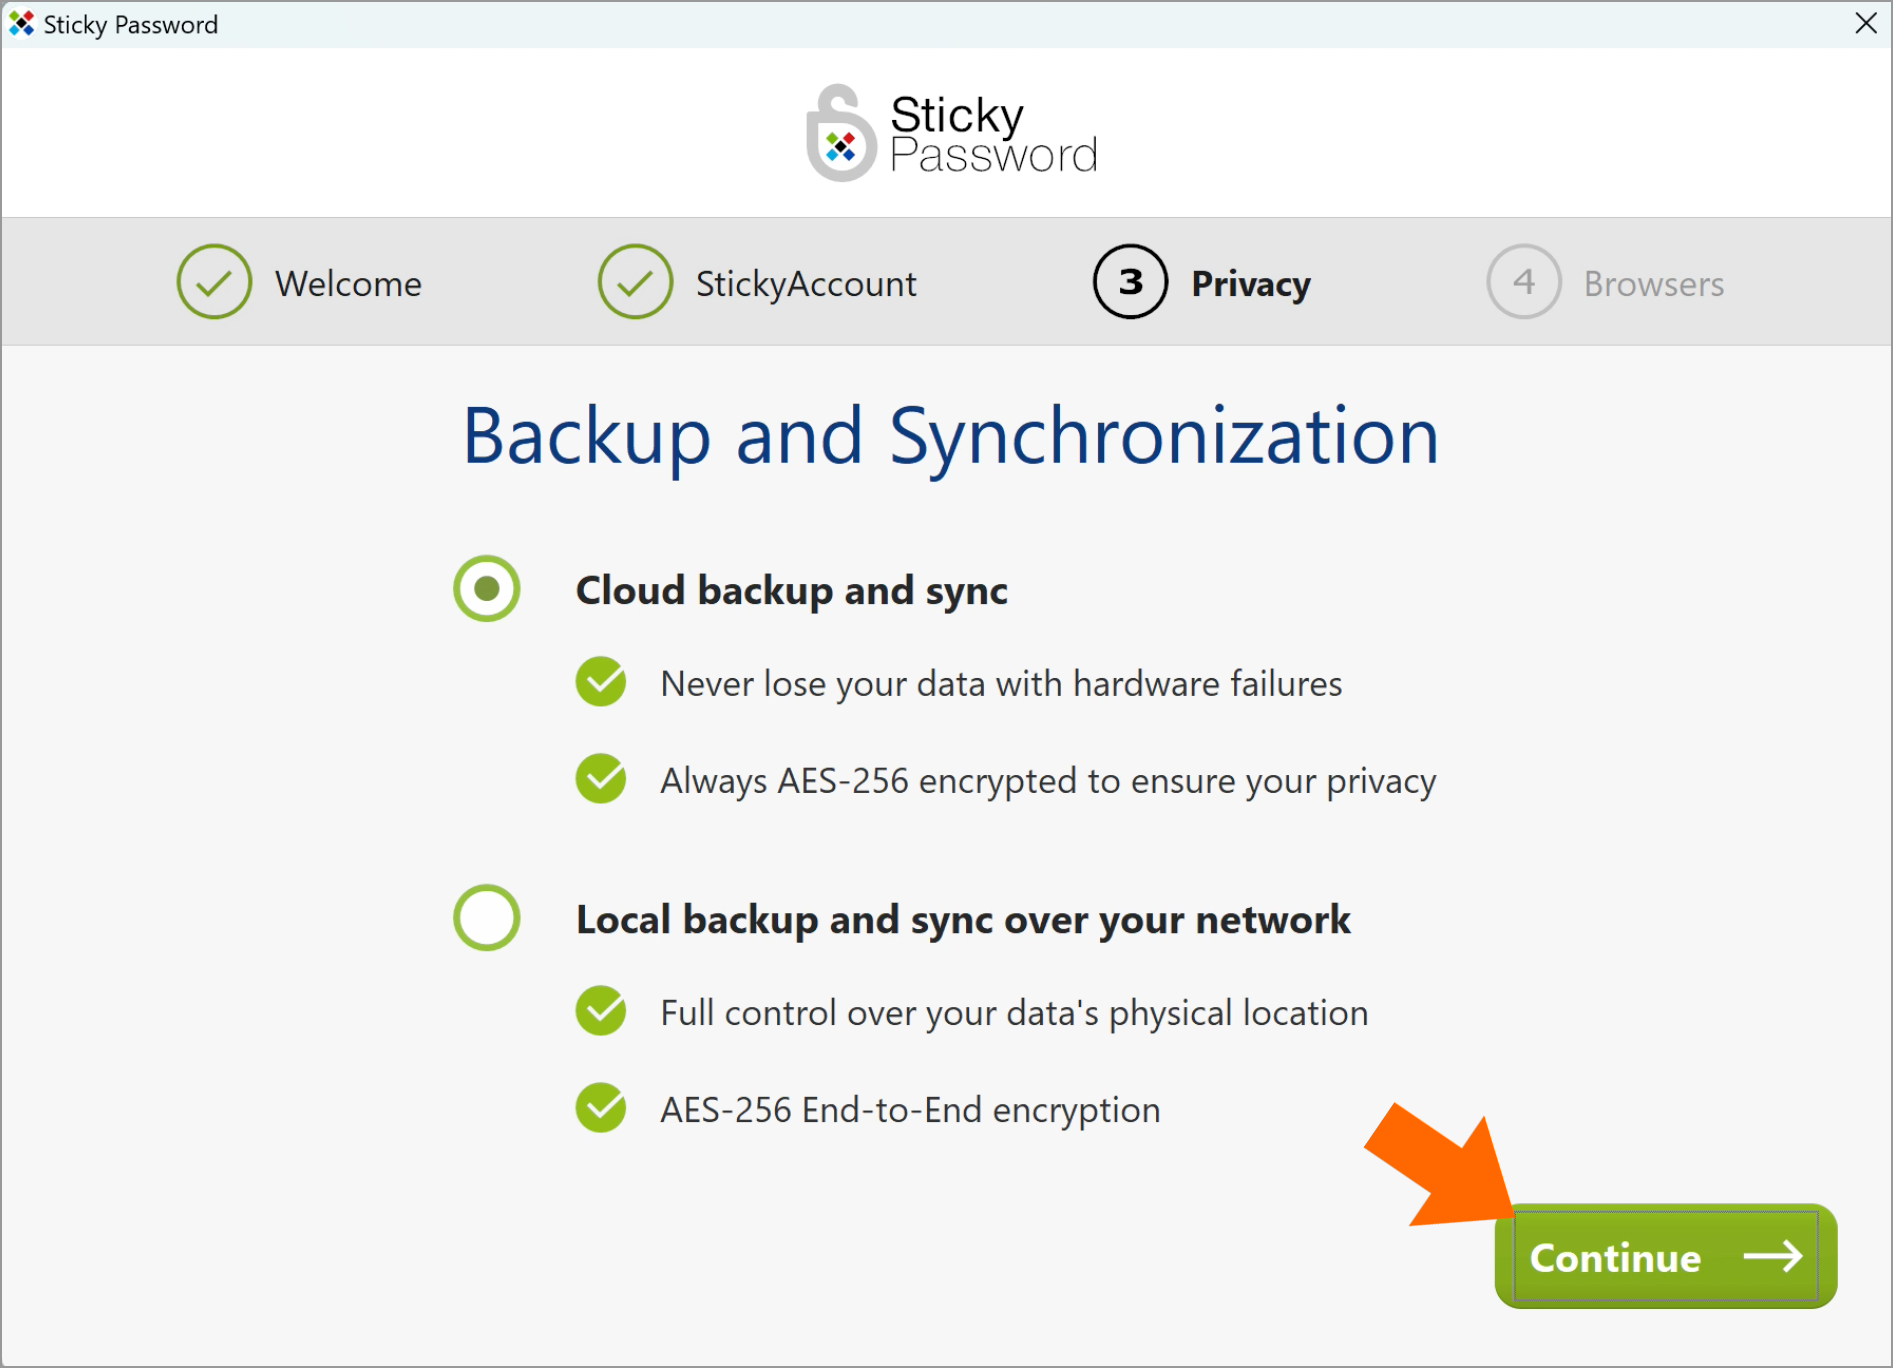
Choose from the following sync options:
Cloud backup and sync is enabled by default—have your encrypted data seamlessly and securely synced on all your devices, and backed up via our secure cloud servers.
Or, choose Local backup and sync over your network—your encrypted database never leaves your device.
Either way, your database is accessible only to you, and only on your devices.
Regardless of the choice you make during the installation, you will be able to manage your backup and sync settings later.
Click Continue.
-
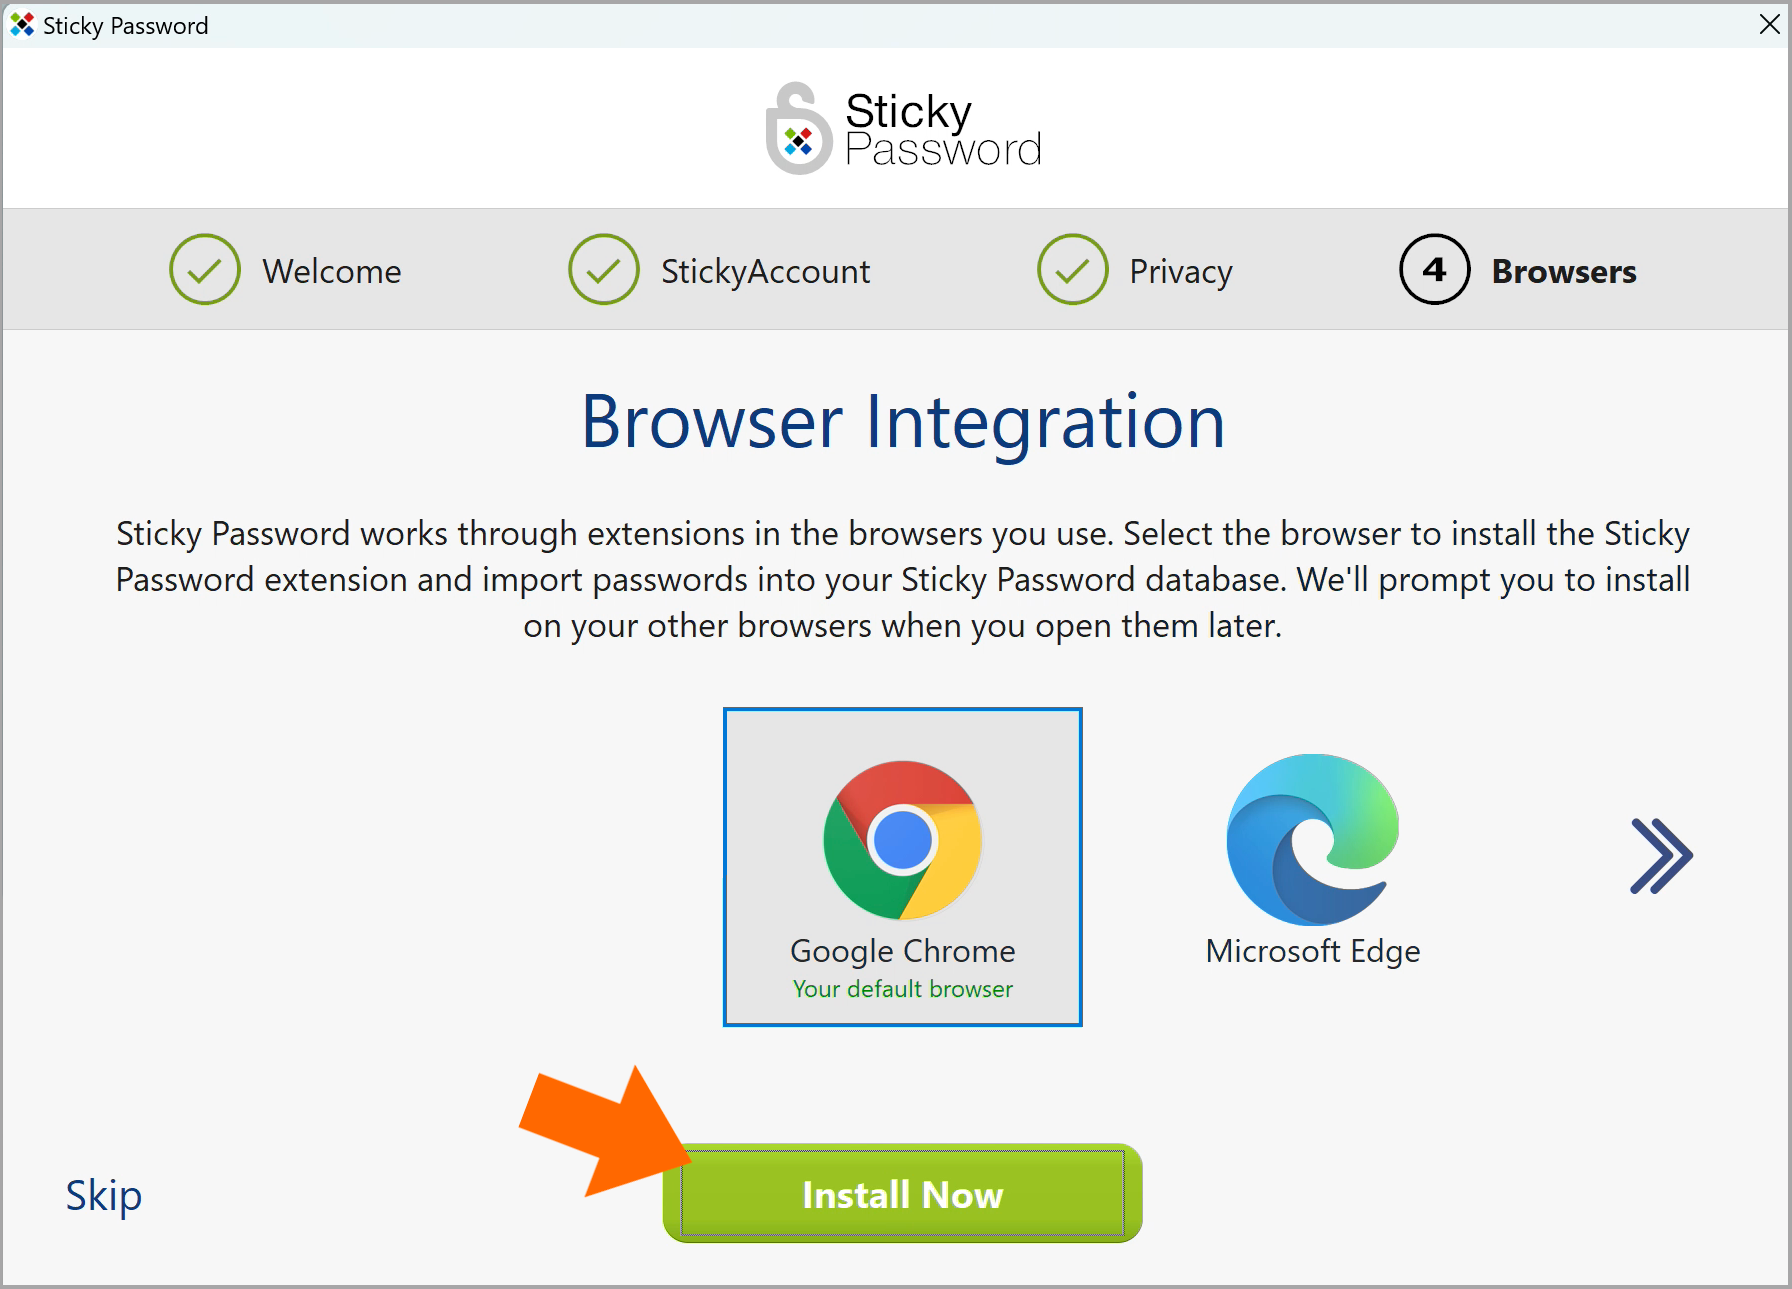
Sticky Password works through extensions in your favorite browsers. Sticky Password offers to install the extension in your computer’s default browser, or scroll to the right to choose another browser in which the Sticky Password extension will be installed.
You’ll be able to add and remove other browsers later, too.
Choose the browser and click Install Now.
💡 Note: If you choose to install the Sticky Password extension in multiple browsers during this step, then you'll need to complete the installation of the browser extension(s) in each selected browser. Simply follow the instructions in the newly opened window in each browser. You can also check out our tutorials for Chrome, Firefox and Microsoft Edge (Chromium-based).
-
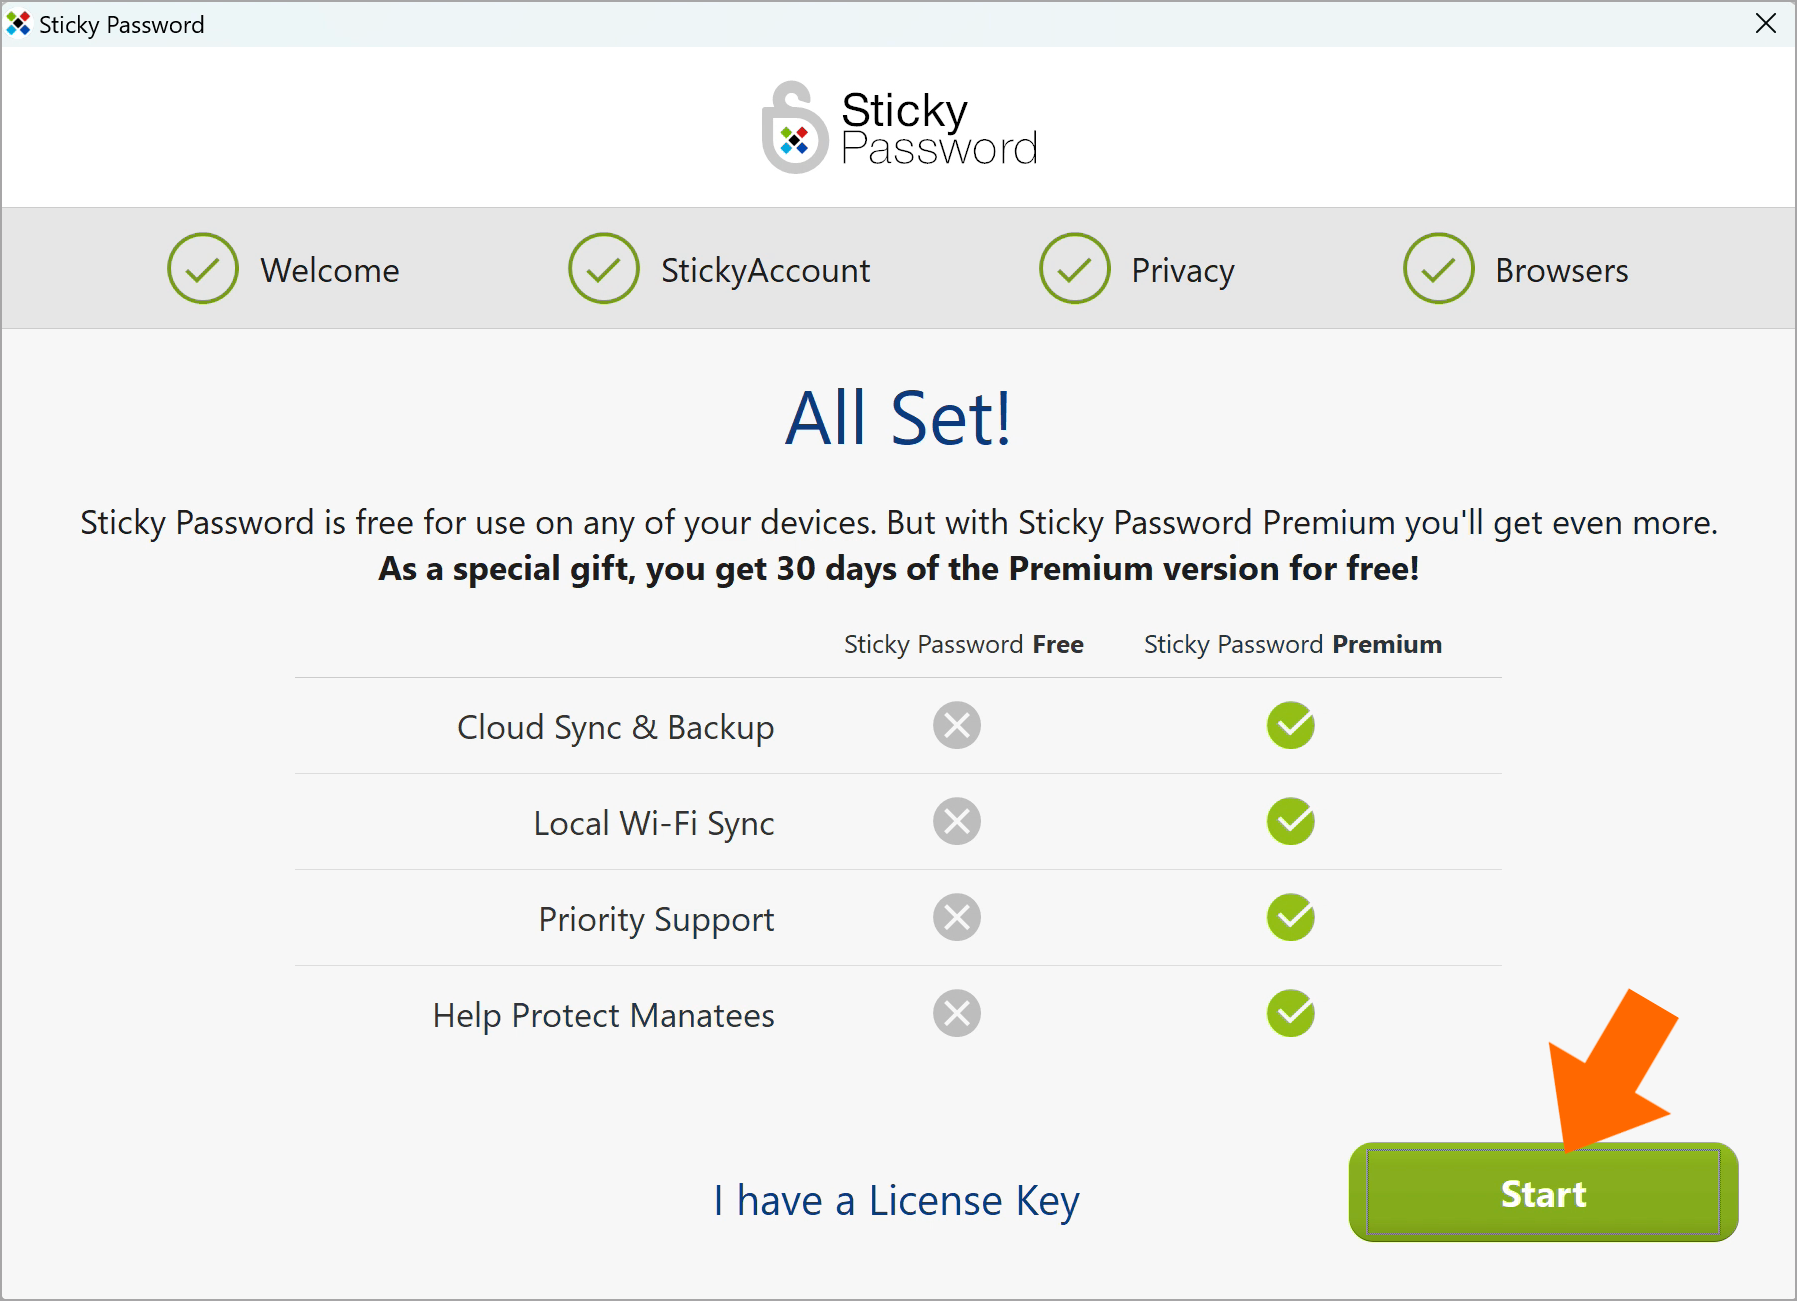
You’ve completed the First Run Wizard and are ready to begin using Sticky Password.
Click Start to launch Sticky Password.
When installing the application for the first time—as a special gift from us—you have 30 days of the Premium version for free!
If you purchased Sticky Password and created a StickyAccount using the same email address for your StickyID that you used to buy Sticky Password, then your subscription will be activated automatically on all your devices.
If for some reason, your subscription is not activated, click I have a License Key and enter the License Key you received when you purchased Sticky Password.
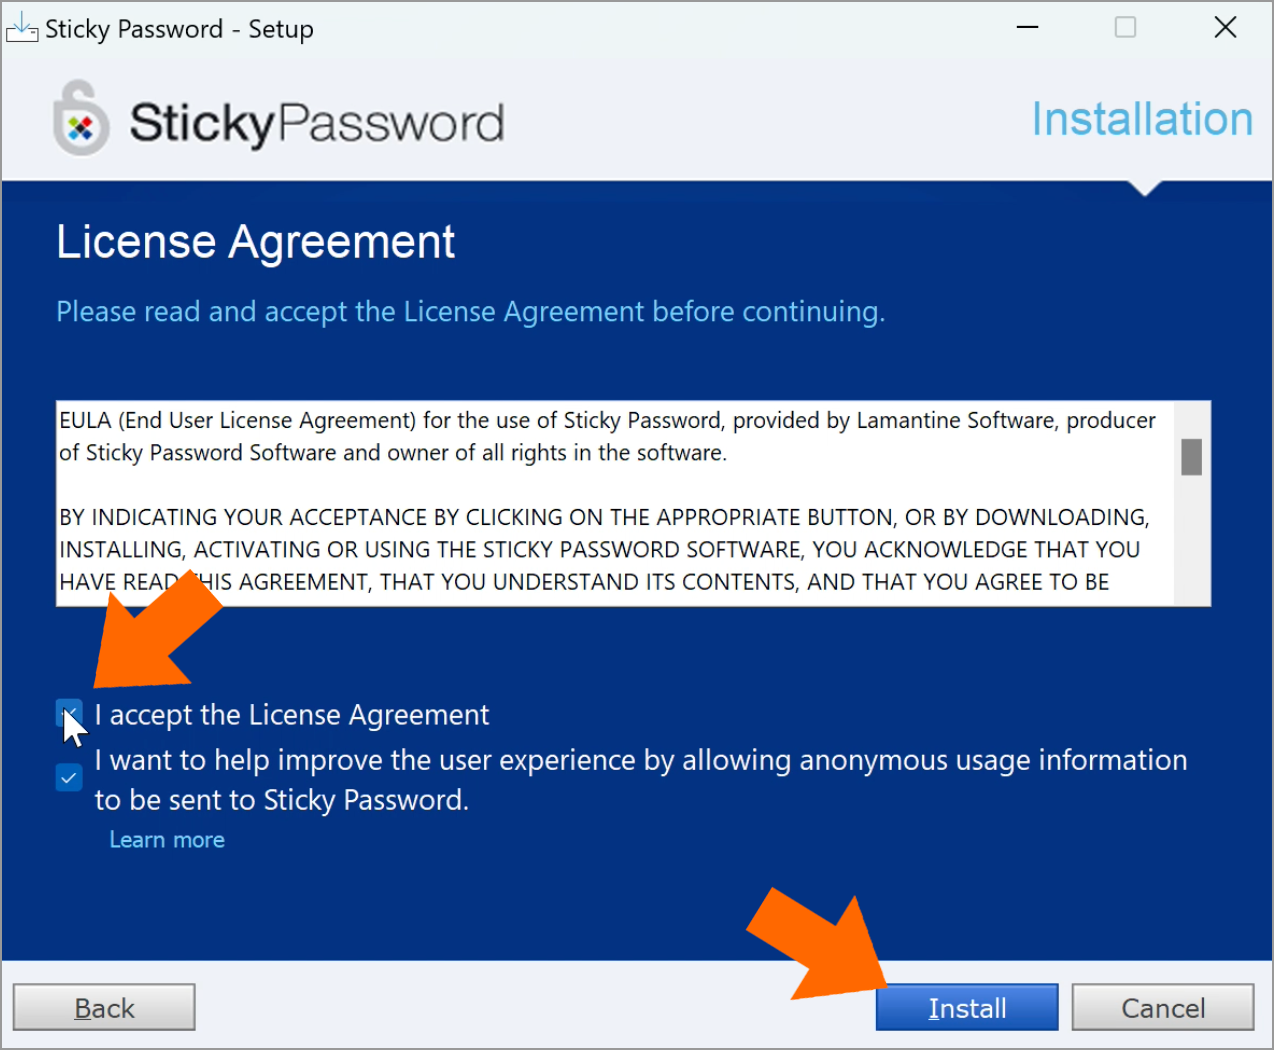
✅ We'd love for you to help us improve the user experience!
By clicking Accept, you agree to allow anonymous usage information to be sent to Sticky Password. Thank you!
You're all set! Now you can enjoy the full benefits of seamless and secure password management.
Sticky Password lives in the notification area in the lower right corner of your desktop. If you don't see the icon, click the arrow to display any hidden icons.